So, you are busy working on an official assignment, a college report or just enjoying an action-packed thriller on your PC. Suddenly, you see a message pop “Your windows license will expire soon”. What to do now? The message just keeps bugging you.
Don’t worry, as this error troubles users all across the globe. This can happen when you are using a pirated version of Windows OS. Or if you have just updated Windows 8 to Windows 10, you may face this problem.
Before diving into the solutions for this error, let us learn a little more about the causes.
Causes of the Error
The primary cause of this error is an expired OS license of Windows 7/9/8.1/10. Some users experience this error even when they have bought a new device, which had Windows OS pre-installed.
This can occur due to incorrect license key or if the key is rejected by the system. This key is embedded within the BIOS. You need to contact customer care in this case, who will help you out.
Another reason for the error is if the OS had been bought from a shady site. Many sites sell Windows OS products, but do not have an official partnership with Microsoft. 9 times out 10, these products are fake and are waste of money.
Types of Error
The error message can appear in different forms –
- Your Windows license will expire soon but Windows is activated
This error appears on activated and non-activated Windows systems. It is an activation error commonly reported by Windows 10 users.
- Your Windows license will expire soon HP, Dell, ASUS
Users owning a Dell, HP or ASUS device face this error.
- Your Windows license will expire soon
This is the most common message, which keeps popping up. When you use a temporary version of Windows, this will bug you.
Note: You will not be able to fix the issue till you purchase and install an original version of Windows 10/ 8.
How to fix this error?
When you face this error for the first time, shut down your PC and restart it again. If the error still pops up, try the following solutions –
Method 1: Restart the Windows Explorer Process
The first method of fixing the “Your Windows License will expire Soon” message is to restart the Windows Explorer process in the Task Manager.
Please follow the steps below –
- Press Ctrl+Alt+Delete and select Task Manager to open task manager
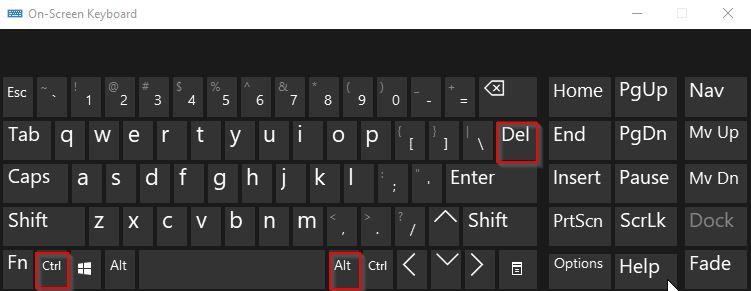
- Next, in Task Manager under Process tab, find Window explorer, right click on it and select End Task

- Next, click on File and select Run New Task
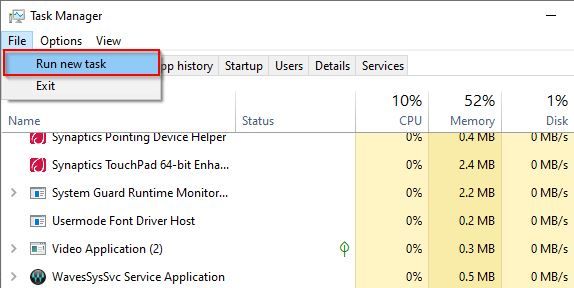
- Now in the dialog box, type explorer.exe and click OK or press Enter.

- Next go to search Menu, type Command Prompt (CMD) and Select Run As Administrator

- Now in command prompt, type slmgr –rearm and press Enter
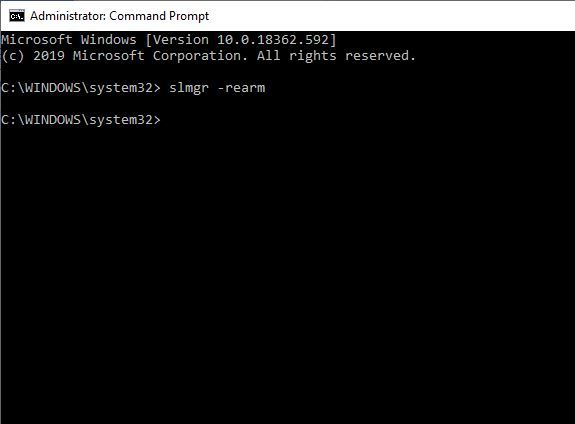
- At last, restart your computer
Note: Many users have got rid of this error using this method quickly
Method 2: Group Policy Edit
Group Policy is a tool that can be used by a network administrator handling the Microsoft Active Directory. It is not usually operated by users as it is used for configuring network settings, passwords, startup programs and much more.
Tweaking the Group Policy can remove the “Your Windows License will expire soon” error. Here are the steps to do it –
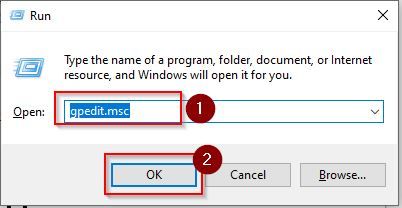
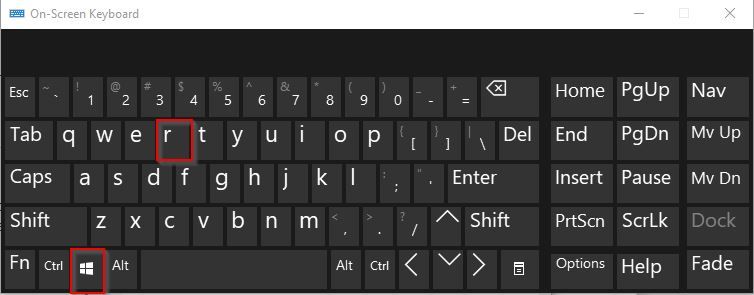
- Press Window+R to open the Run Dialog box
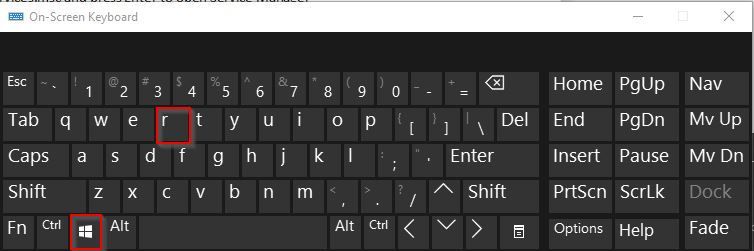
- Next in the Run Dialog box, type gpedit.msc and press Enter or click OK.
- Next in Local Group Policy Editor window, on the left pane, navigate to Computer Configuration > Administrative Templates > Windows Components > Windows Update.
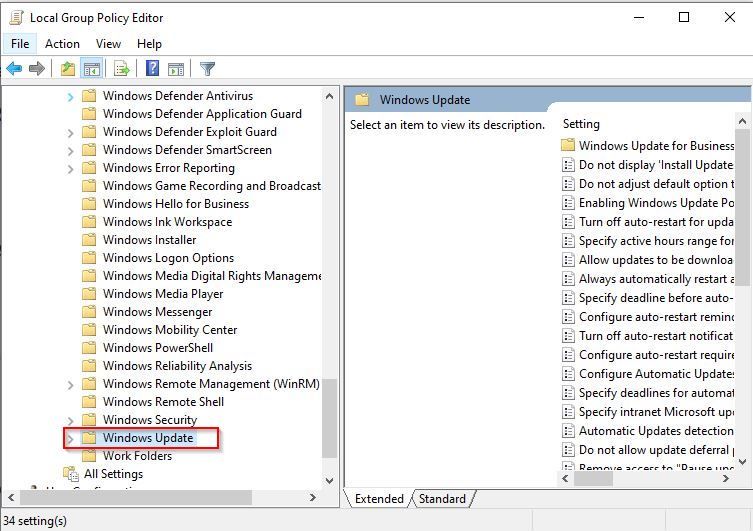
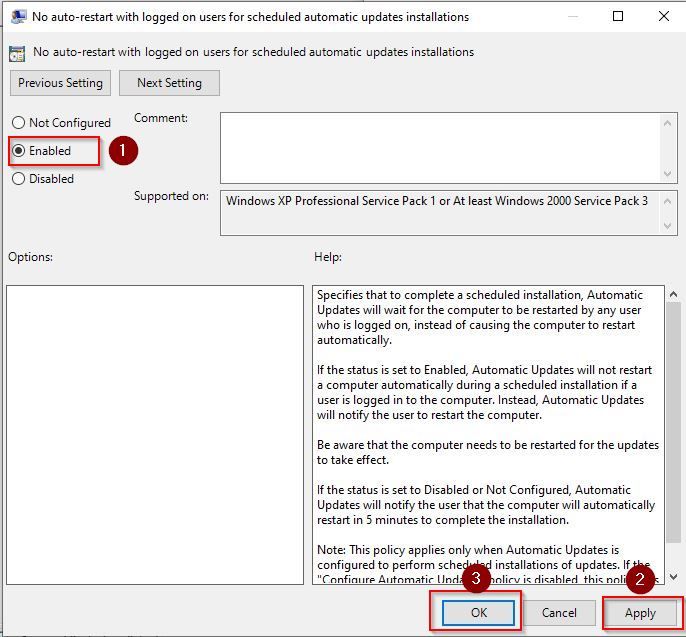
- Now in the right pane, double click on No auto-restart with logged on users for scheduled automatic updates installations option
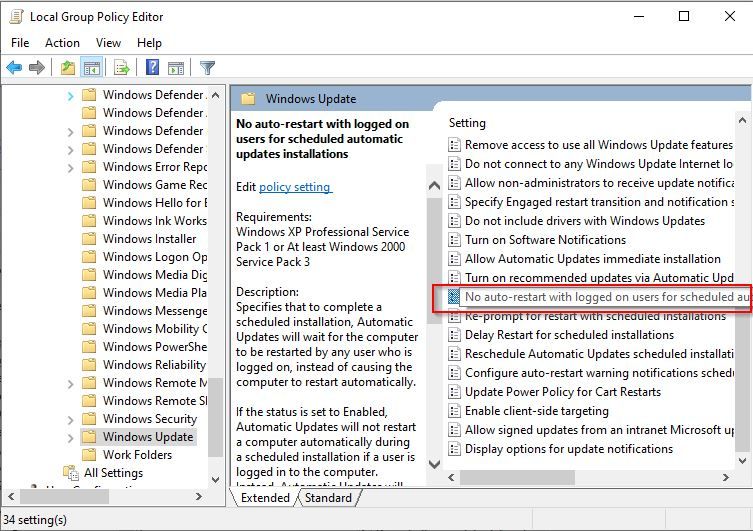
- Now in the next window, select Enabled checkbox and click on Apply and OK to save changes
Method 3: Edit Registry
The Windows Registry is the database of settings, values and options of the different software and hardware in your system. Making a few changes to the registry might renew your OS policy and resolve the issue.
Follow the steps below to modify the Windows Registry –
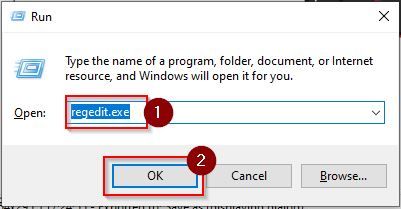
- Press Window + R to open the Run dialog box on your system
- Next, type regedit.exe on Run dialog box and press Enter or click OK
- Export the current Registry before modifying it. Click on File> Export
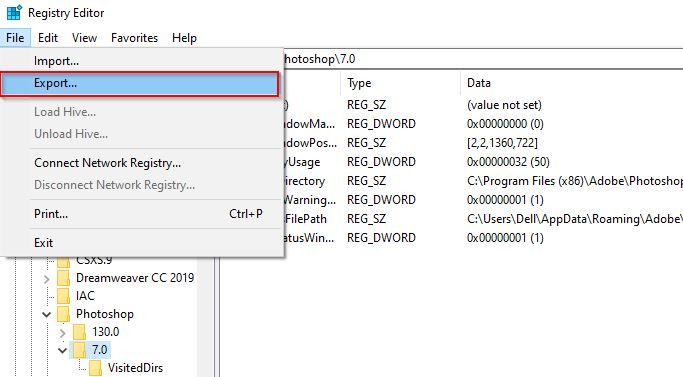
- Then, select All as the Export range and choose a file name. Save it in a safe location and remember it
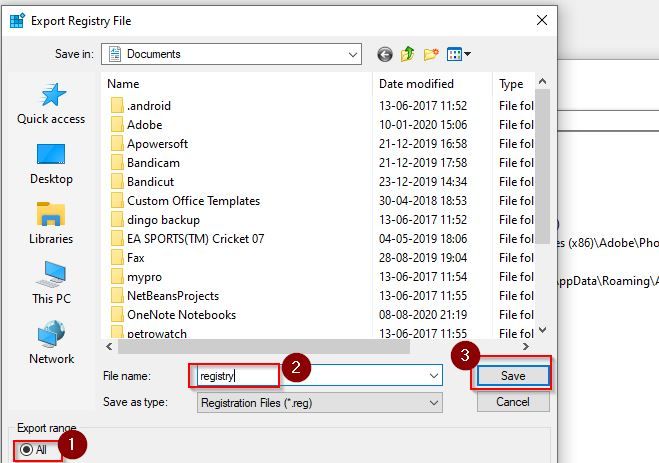
- It is important to do this. If something goes wrong, you can just execute this file and the older settings of the Registry will be restored on your system
- Next, go to search Menu, type Command Prompt (CMD) and Select Run As Administrator
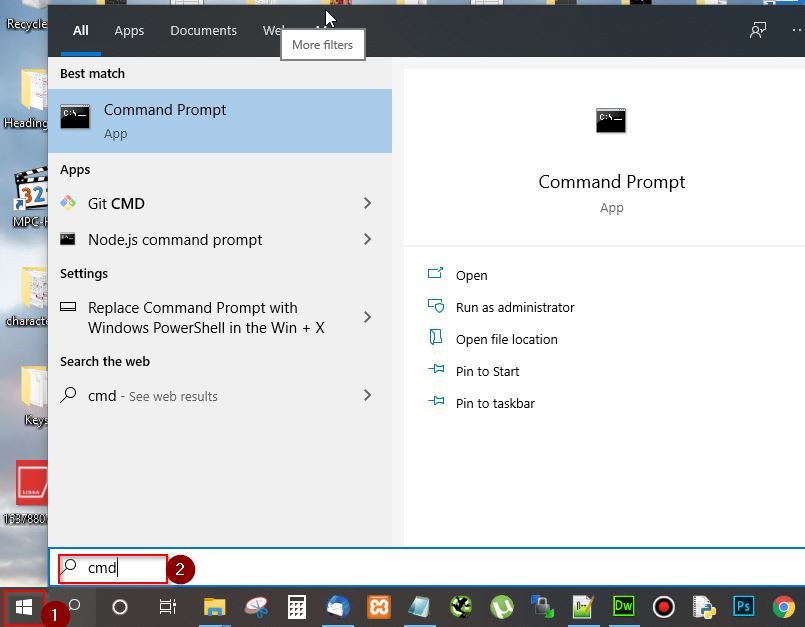
- Now in command prompt, type the following command and press Enter
reg add “HKLM\Software\Policies\Microsoft\Windows NT\CurrentVersion\Software Protection Platform” /v NoGenTicket /t REG_DWORD /d 1 /f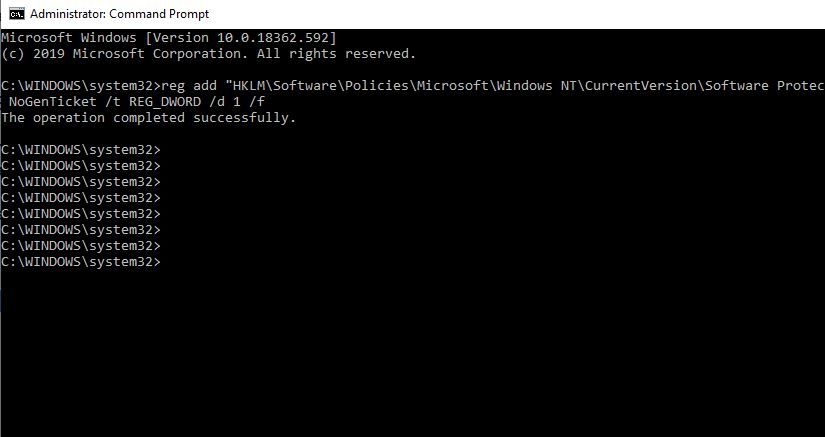
Method 4: Find the Product Key using Command Prompt
You can use the command prompt to locate the product key of the Windows version. You can re-enter the key to renew your OS license.
Find the key using these steps –
- Go to search Menu, type Command Prompt (CMD) and Select Run as Administrator
.jpg)
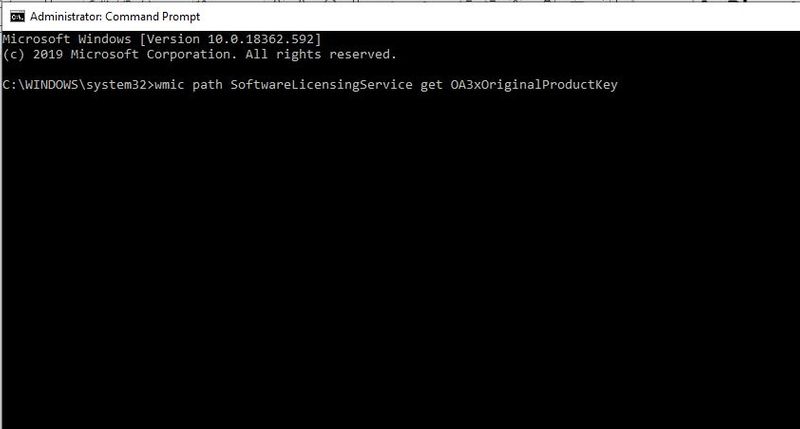
- Next in command prompt, type the following command and press Enter
wmic path SoftwareLicensingService get OA3xOriginalProductKey- This command will show your product key on the screen, note it down
- Now, press Window + I and click on Update & security option
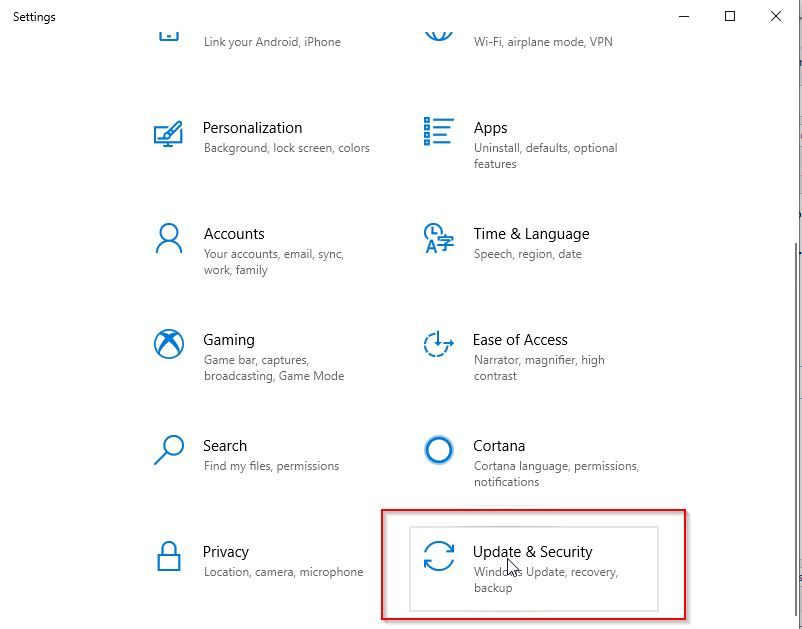
- Then, first click the Activation option and then click on Change product key
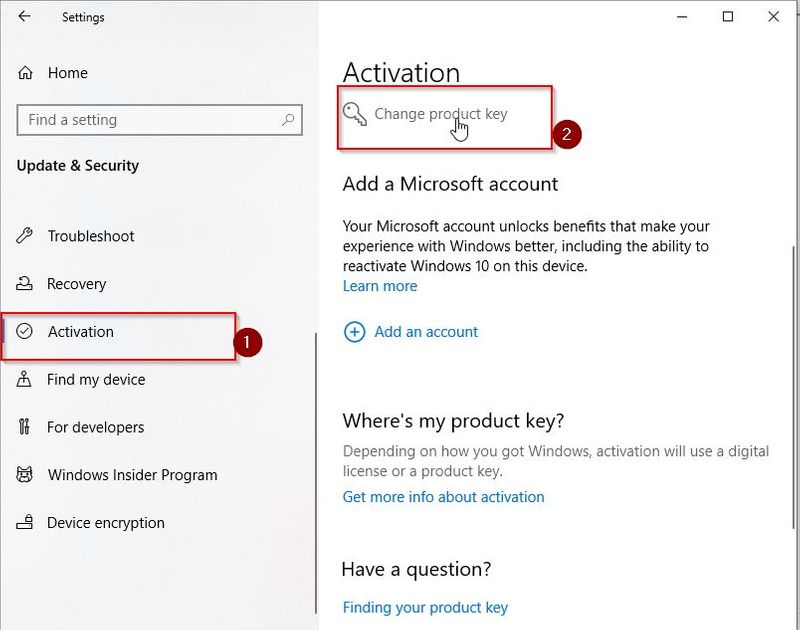
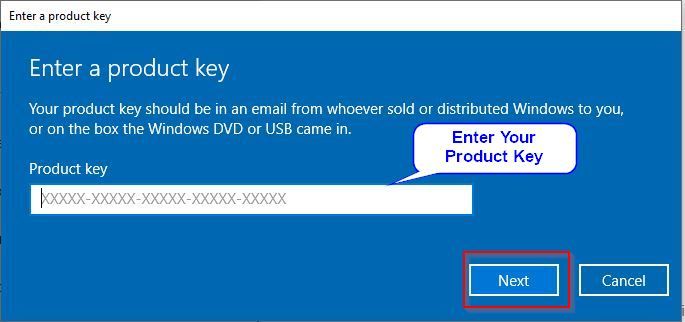
- Enter your product key (which you noted down) and then click on Next button
Using these steps, your Windows version will be activated again.
Method 5: Disable Two Windows Services
Windows services enable the creation and execution of other processes. You can fix the license error by disabling these two services –
- Disable Windows License Manager Service
- Disable Windows Update Service
First, press Window+R to open Run dialog box. Next in the Run dialog box.
.jpg)
Next type services.msc and press Enter to open Service Manager.
.jpg)
Disable Windows License Manager Service
- Next locate Windows License Manager Service and double click on it
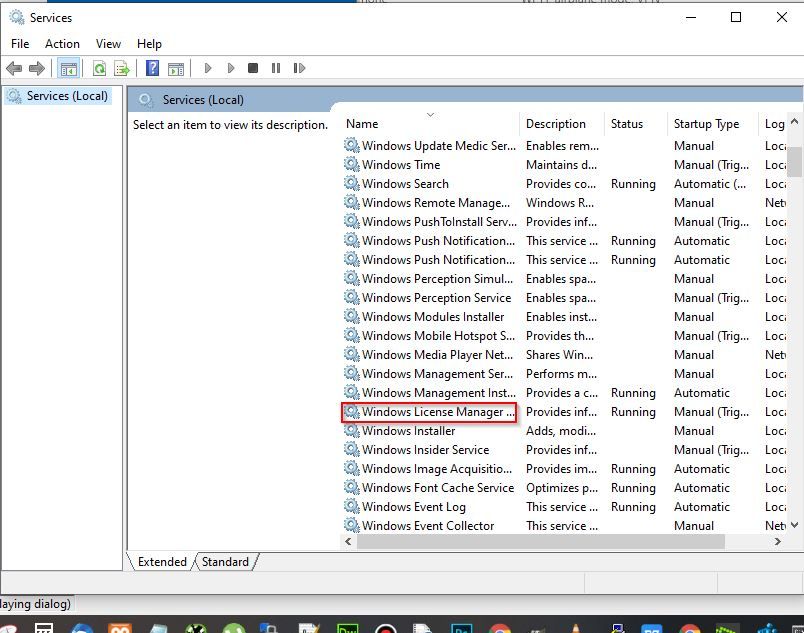
- Next in the Properties window set the Startup type to Disabled and click on Stop button (if service status is running) to stop the service
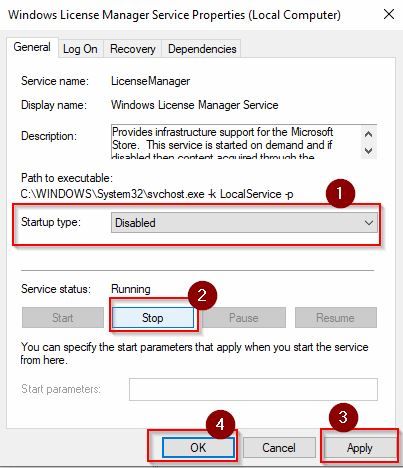
- Now click on Apply and OK to save changes
Disable Windows Update Service
- Next, locate Windows Update and double click on it

- In the Properties window, make sure the Startup type is set to Disabled. Then, click on the Stop button to stop the service (if you find the service still running)
.jpg)
- Now click on Apply and OK to save changes
These steps are sure to resolve the license error. If the message persists, enable the services again.
Method 6: Using Activation Troubleshooter
The Microsoft Activation Troubleshooter is useful for verifying the originality of a Windows version and if it is being used in more than one device. You can use this to solve common activation errors. But the Activation Troubleshooter is useful only if you are using Windows 10 version 1607 or above.
Here are the steps to use the feature –
- Press Window + I and click on the Update & Security option
.JPG)
- Now, on the left pane click on the Activation option
- All the activation errors will be displayed here
- Launch the Activation Troubleshooter by clicking on Troubleshoot, and you will be on your way
- The Troubleshooter will detect the current activation errors on your system and fix them automatically
- After the entire process is over, click on the Close button
Check Your Date and Time
Every license has a date and time of activation/ expiry. So, check to see whether your system’s date and time has been messed up, as this might be the reason for the license error. For this, you have to go to the Date and Time settings and check.
Follow these steps given below –
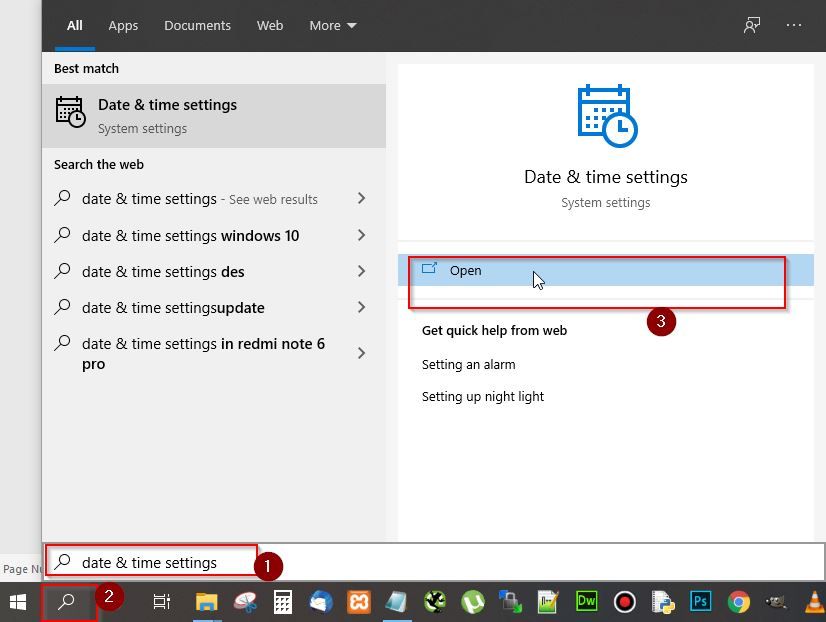
- Go to the Search Menu, type Date & Time Settings and press Enter or click on Open
- Now under Date and Time, turn on options Set time automatically and Set time zone automatically
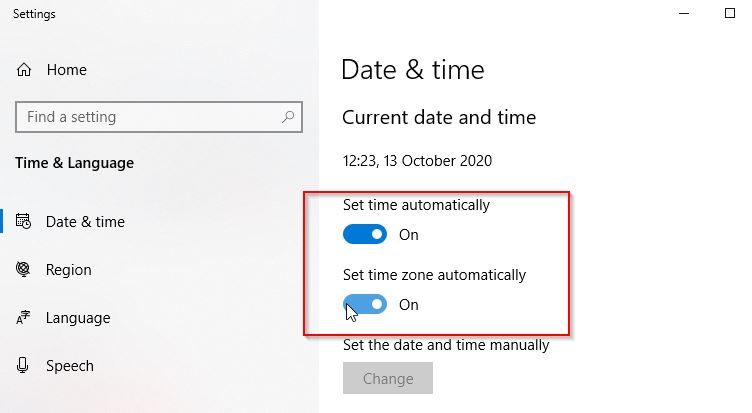
- Now Restart your computer and check if the issue has been resolved
Reference link:
https://www.stechies.com/fix-your-windows-license-will-expire-soon-error/#:~:text=The%20primary%20cause%20of%20this,is%20embedded%20within%20the%20BIOS.