Container Linking allows multiple containers to link with each other. It is a better option than exposing ports. Let’s go step by step and learn how it works.
Step 1 − Download the Jenkins image, if it is not already present, using the Jenkins pull command.

Step 2 − Once the image is available, run the container, but this time, you can specify a name to the container by using the –-name option. This will be our source container.

Step 3 − Next, it is time to launch the destination container, but this time, we will link it with our source container. For our destination container, we will use the standard Ubuntu image.

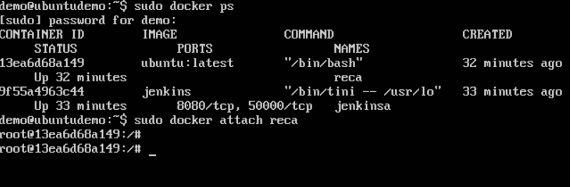
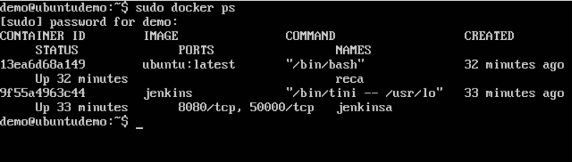
When you do a docker ps, you will see both the containers running.
Step 4 − Now, attach to the receiving container.
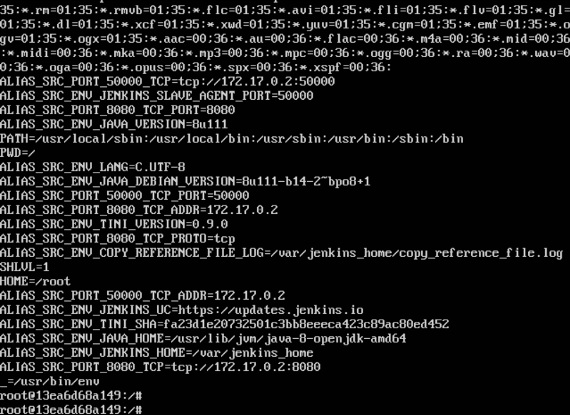
Then run the env command. You will notice new variables for linking with the source container.
No comments:
Post a Comment