GIMP is an open-source image manipulation tool. It is a great photoshop alternative. When it comes to colors, it provides various tools for manipulating the colors of the image. We can fill or change the colors to the image objects. Colors in the image is an essential thing to make it look attractive and useful. There may we many reasons that we want to edit the colors of the image.
There are a variety of methods to change the colors of the picture. We are going to discuss some most common ways to edit the colors of the image. The colors menu has a variety of color tools. Each option is significant in its unique way. Let's discuss some common way:
Change Colors By using the Color Fill Tool.
The color fill tool is the most common way to fill the color to an image. We can use the active foreground or background color to fill it to a specific image region. For example, let's create an image and fill colors to its specific parts. To create a blank image, select the New option from the file menu.
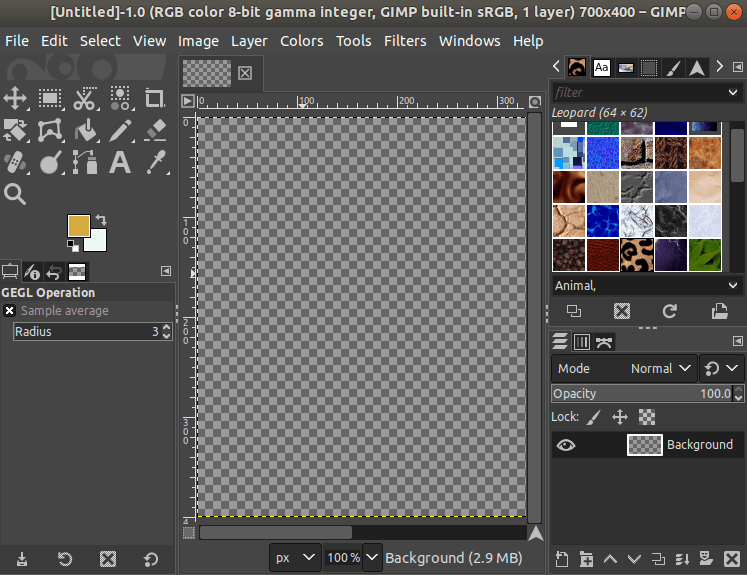
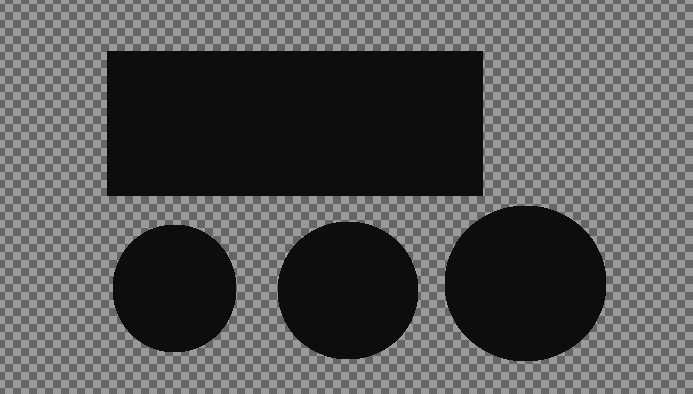
We have created an image with a transparent background. Now, we will draw some shapes, and then will fill the colors into them. We are drawing circles and rectangles and then fill colors into them.
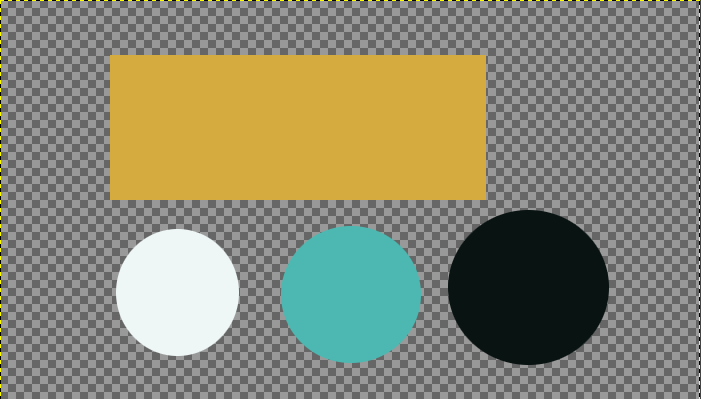
In the above image, we have filled the different colors to different shapes. Now, understand it in detail. follow the below steps:
Step1: Make a selection
Make a selection using any of the selection tool from the Tools-> Selection Tools menu and draw a shape. We can also select a selection tool from the toolbox.
Step2: Select the color fill Tool
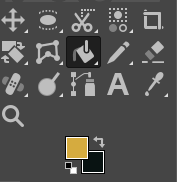
Select The Bucket Fill from the Tools-> Paint Tools menu. It is used to fill with hard colors. We can also select it by clicking on the below icon:
Step3: Select The colors
now, select the colors that we want to fill in the specific object. Press the colors icon given at the below of the toolbox. The color symbol is given; the upper color box is for the foreground color, and the lower color box is for the background color. Click on the box to change the color choice. It will open a dialog window to select the color.
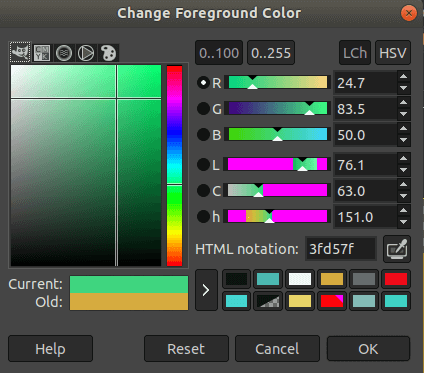
Select the color that we want to fill in the selection.
Step4: Fill the Colors
now, click on the selection to fill it with the selected color. For example, we have filled the below image with the black color.
Second Method:
There is another way to fill the colors which we found most significant. To fill color to a specific selection, make a selection and fill the colors in it by using the "CTRL+," or "CTRL+." keys. The "CTRL+," keys will fill the selection with the active foreground color, and the "CTRL+." keys will fill the selection with the active background color.
There are other useful options for changing colors; the essential thing for filling the color is to make a proper selection. We can also exchange colors with the specific one. To do so, make a selection by using the Select by Colors tools from the Selection Tools. It will select the same color from the entire image and change it with the specified one. Also, we can use the Exchange Colors option from the Colors-> Map menu.
Change Colors of an Image Using Color Filters
We can change the color of an image as we have discussed multiple ways to do so. If we are editing an image and want to lighten or darken the colors for the editing purpose, then the color fill tool is not significant. It fills the hard colors to the image.
For editing purposes, we must use the colors menu and navigate to different color options. For example, we are discussing some useful color filters.
Color Balance: The color balance tool is one of the most useful and significant ways for editing the colors of the image. It adjusts the color levels of the image. Adjust the colors as per our needs. It provides a preview option so we can preview the image. To adjust the color balance, select the Color Balance option from the colors menu. It will open a dialog window to adjust the colors:
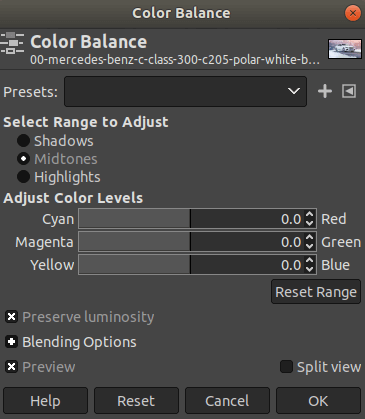
Adjust the color levels as per our requirements. Then click OK to apply it. Consider the below example:
Before Applying Filter:

After Applying Filter:

Color Temperature:
The color temperature adjusts the light source in an image. Usually, it is used to adjust the bluish or reddish cast of the overcast images. Usually, we have to adjust the color temperature for the images which are taken in daylight. It provides a preview option for adjusting the photos; we can preview before applying the changes.
To adjust the image's color temperature for changing the colors of the image, select the Color Temperature from the colors menu. It will open a dialog window, adjust the color temperature as per our requirement.
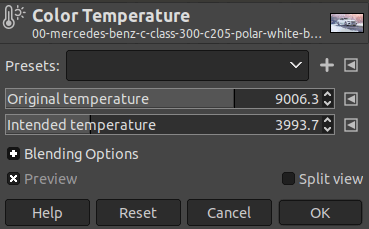
Click OK to apply it.

Hue Chroma:
The Hue and Chroma are two different color properties of the image that define the image's saturation. It is also one of the most used methods to edit the colors of the image. It makes the images attractive and beautiful.
To adjust the Hue Chroma of the image, select the Hue Chroma option from the Colors menu. It will open a dialog window to adjust the color levels.
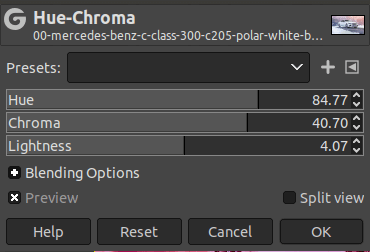
Adjust the levels of Hue, Chroma & Lightness as per our need; click OK to apply this filter.

Color Curves:
The Color Curve is also one of the most popular and useful ways to change and adjust the colors of the image. It allows us to define the level of all available colors of the image. It is an efficient way for changing the colors lightly.
To adjust the Color Levels, select the Color Curves option from the Colors menu. It will open a curve:
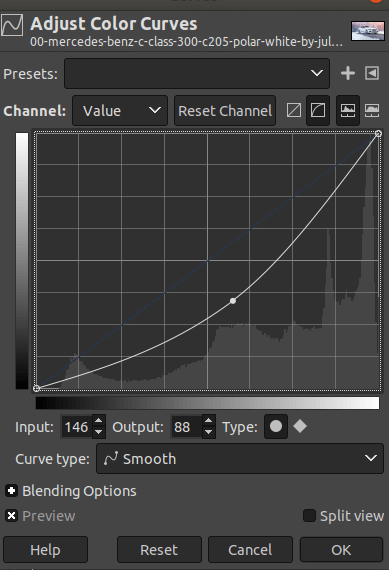
Drag the curve to adjust the colors, click OK to apply this filter.

Invert:
The Invert tool inverts all the colors and brightness of the image. It makes the images as negative. So the brighter area becomes darker and vice-versa. It is also a useful method to change the colors of the image.
To invert an image, select the invert option from the colors menu.

Like all the above tools, several color manipulation tools are available in the colors menu. See all Colors Tool.
Change Colors of the Image using the Selection Tools.
We can change the specific color of the image using different selection tools. For example, if we want to change a particular color of the image. We can select the select by color tools or free select tool and change the colors using any drawing tools like brush or color fill, etc.
To change the color with any specific color, select the By Color Select Tool from the Tools-> Selection Tools menu. After selecting the tool, click on the particular color anywhere on the image canvas. It will select all the similar colors from the entire image.
We can now fill it with the active background or foreground color by using the "CTRL+, or ." Keys. It will look like:
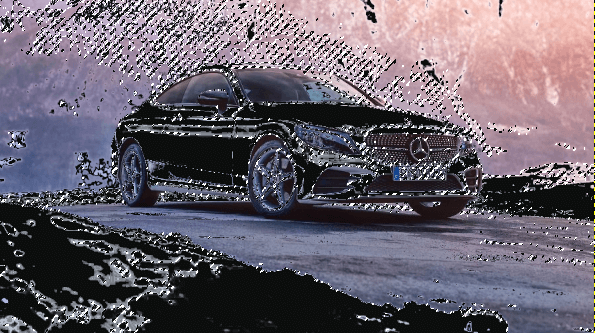
In the above image, we have selected white color and replace it with the black color. Similarly, we can select any of the available colors in the image.
Swap colors Using the Exchange Colors Tool
We can change the color by using the Color Exchange tool. The Color Exchange option can be found in the Colors-> Map menu. It effectively exchanges the colors with the specified one.
It is also one of the most used methods for swapping the colors. To exchange the colors, select the Color Exchange option from the Colors-> Map menu. It will open a dialog window to select the colors.
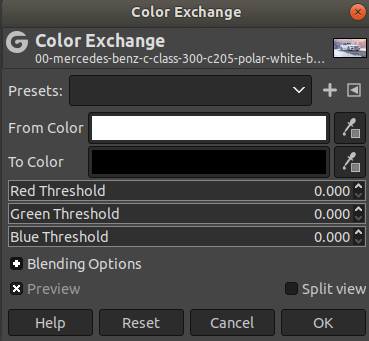
It allows us to select the color from and the color we want to exchange. It will effectively swap the colors.

In the above image, we have exchanged the white color with the black.
GIMP is rated as one of the most acceptable image editors because of its massive support for colors and editing options. Apart from all of the above-specified methods, it provides many other tools to manipulate the image's colors. For other useful filters and editing tools, visit Photo Editing in GIMP.
No comments:
Post a Comment