The text is an integral part of any graphical image. We can add attractive texts, 3D text, rotating text, colorful text, outlined text, and so on to the image using GIMP.
Adding the text outline is a useful task for the image. It makes the image more visible and attractive.
In this section, we are going to create text in one color outlined by another color. It is useful for making it more readable.
How to Add Text Outline in GIMP
Adding a text outline is a straight forward process. To add an outline to the text, follow the below steps:
Step1: Create an Image
The first step is to create an image, create a new blank image by selecting the New option from the file menu. It will open a dialog window to define the image properties, such as image resolution.
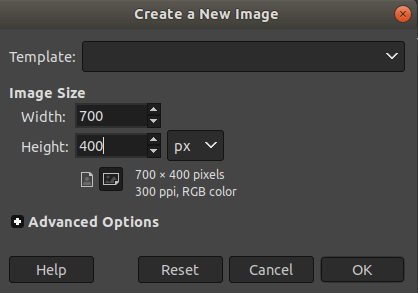
Specify the image properties such as width, height, background, etc., click OK to create.
Step2: Select The Text Tool
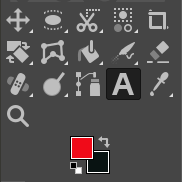
After creating the image, select the Text tool from the Tools menu or hit the T key. We can do the same by clicking on the below icon in the toolbox:
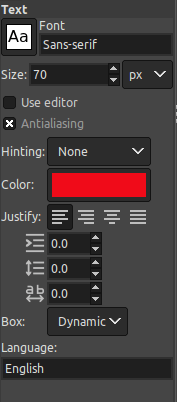
To specify the text properties like fonts, size, color, etc., specify them in the tool option given at the below of the toolbox:
Step3: Add Text
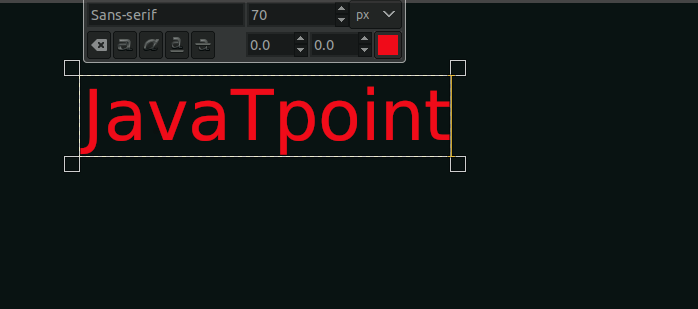
Now, click anywhere on the image canvas and start typing the text.
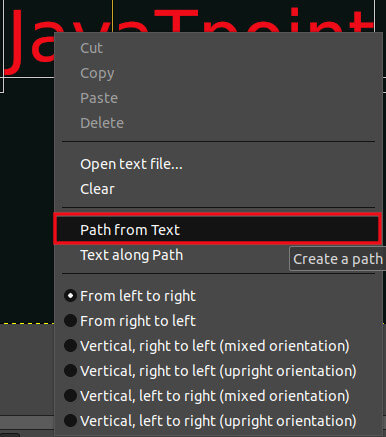
Stpe4: Create a path from Text
To Create path from text tool, right-click on the image and select the Path From Text option.
Step5: Add a Transparent Layer
To add a new layer, navigate to the Layer-> New Layer menu or hit the "SHIFT+CTRL+N" keys.
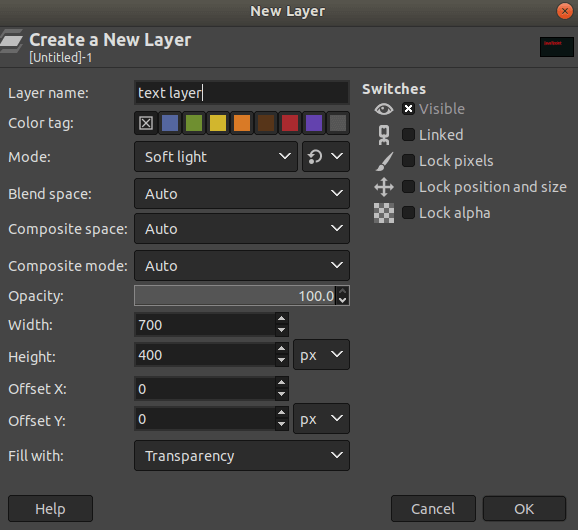
Specify the layer properties such as layer name, fill with and click OK to create.
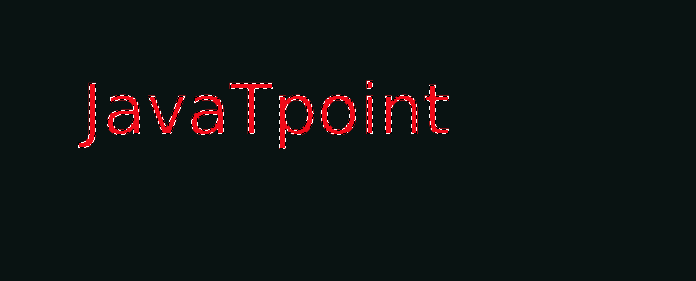
Step6: Select From Path
Now, select from path option from the select menu. It will highlight the text.
Step7: Grow the Text
Now Grow the text by using the Grow option from the select menu. Define the Grow by pixel value (5 or 6 considered as useful).
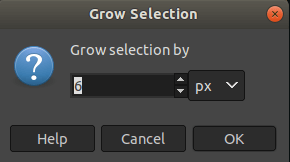
It will grow the text.
Step8: Select The Bucket Fill Tool
Now, select the bucket fill tool to fill the outline with color. It will fill the specified color.
Select the bucket fill option from the Tools-> Paint Tools menu or hit the "SHIFT+B" keys. Now click on the image canvas; it will fill it with the active foreground color.
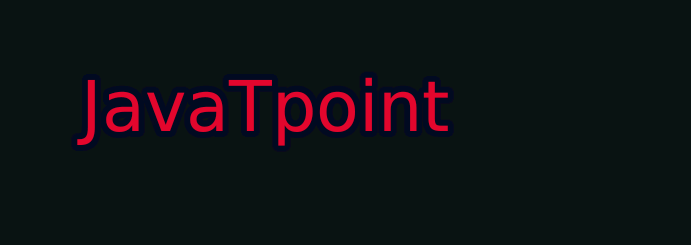
Now, we have a highlighted outlined text. We can save this image in different image formats by using the Export As option from the File menu since GIMP has massive supports of several editing tools. So we can also do the same by using the different tools and options.
No comments:
Post a Comment