Select your PC environment:
Before we start on the tutorial, let's get our development environment up and running for Git. Choose your PC environment below and I will explain how we can start setting up Git.
If you are a developer and you're comfortable with a console interface, how about giving the console a try for Git?
Windows
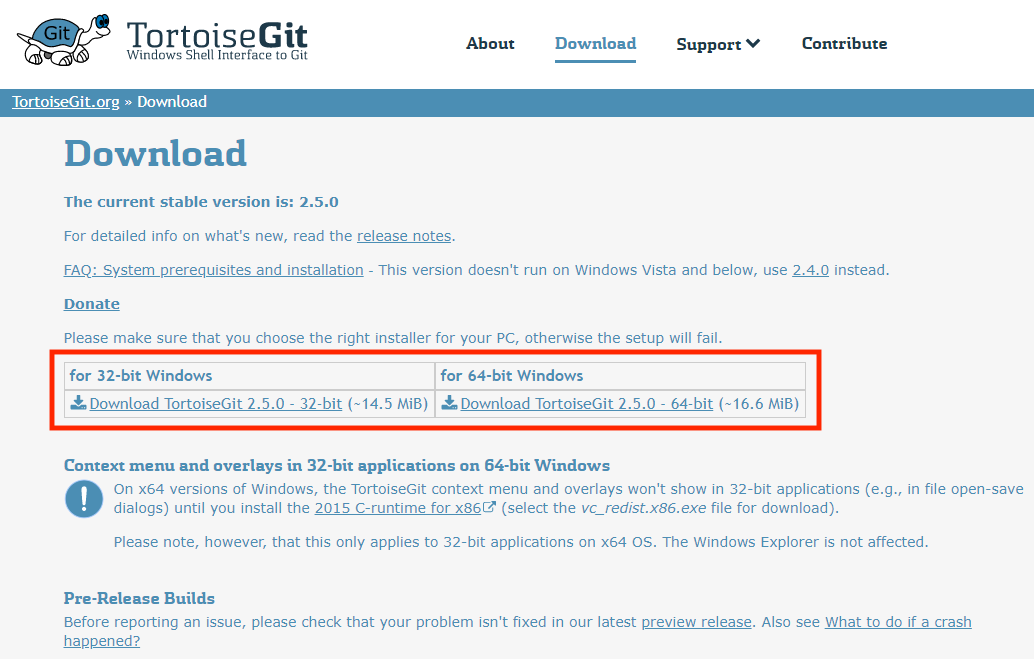
TortoiseGit is an open-source Git client.
http://code.google.com/p/tortoisegit/
First of all, download the TortoiseGit installer. Depending on your Windows OS, you will have to decide between the 32 bit or 64 bit version.
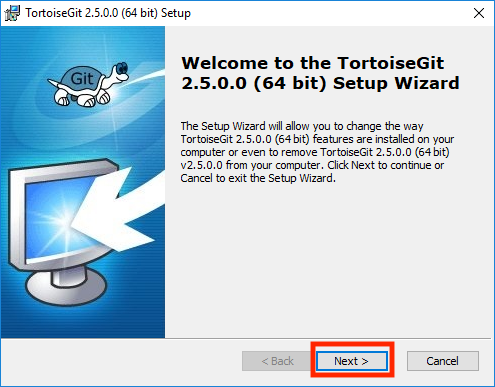
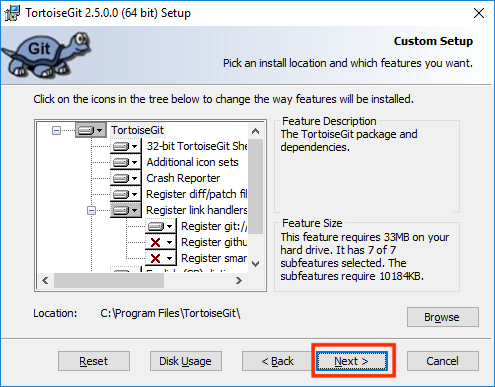
Start the installer by double clicking the downloaded installer file. In the next screen, click "Next".
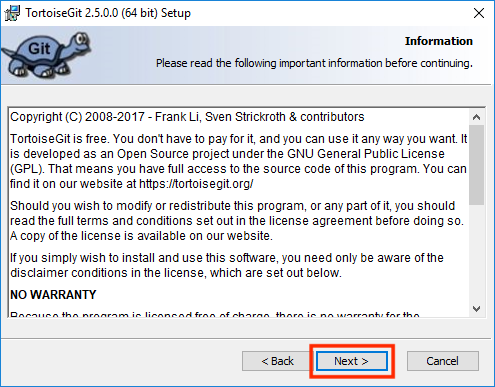
Click "Next" again.
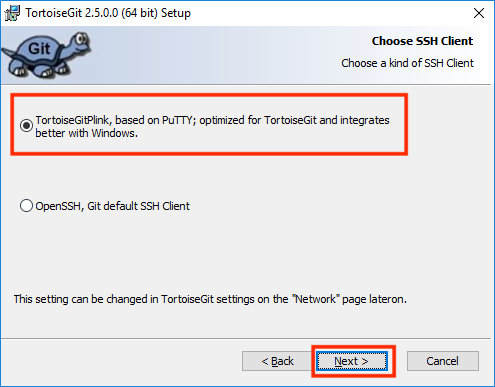
Select “TortoisePLink” then click “Next”.
Click "Next" again."
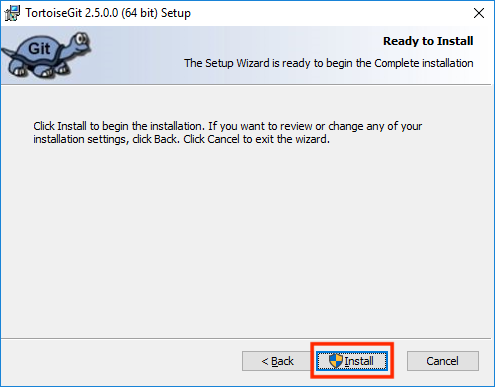
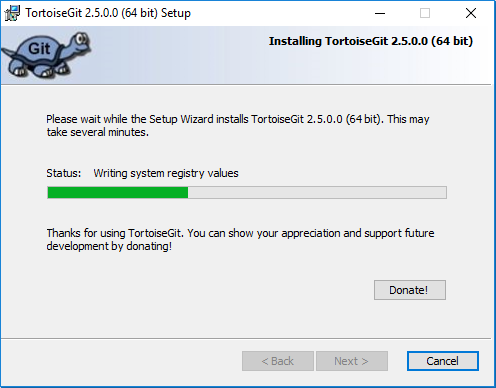
Installation will now begin. In some cases, TortoiseGit will look for Windows user certification. If that happens, you will have to click "accept" to continue with the installation.
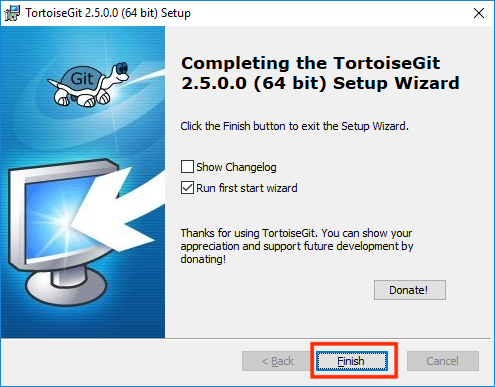
Once the installation is complete, click “Finish” to exit.
No comments:
Post a Comment