The background is a part of the overall image canvas. Usually, It is behind the main image object. Removing or changing the background from an image is one of the most demanding features of photo editing. We might have ever tried it in another image editor like photoshop. In GIMP, it is quite straight forward. GIMP offers several tools to remove or change the image background.
GIMP is a free tool that offers several photo editing tools. We can perform several image editing tasks such as background removing, image editing, image retouching, image refixing, etc.
In this section, we will see how to remove and change the background of an image using different tools. For image editing or refixing, visit Photo editing in GIMP. We will use the below methods to remove the background of an image:
Remove Background Using Fuzzy Selection Tool
One of the popular ways to remove background in GIMP is using the Fuzzy Selection tool. The Fuzzy selection is also known as the Magic wand. It is used to select the areas from the image canvas having similar colors.
It is important to select the right starting point to select the background properly. Otherwise, we will get something very different than we want. The wrong spot selection will select a different region or even the opposite.
It is useful for selecting objects having sharp edges. The experienced user finds it more useful for selecting a particular region than any other tool. It is also useful for retouching the specific region of the image.
In a nutshell, a fuzzy selection tool is a vital tool for image editing. It can be found in Tools-> Selection Tools -> Fuzzy Select menu or hit the U key.
Follow the below steps to remove the background using the Fuzzy Select tool:
Step1: Open Image
The first step is to open the image that we want to edit. There are different ways in GIMP to open an image. But, the traditional way is to open an image by the Open option from the file menu. To open an image, select the Open option from the File menu or drag and drop the image from our pc.
It will open the image in the editor window, which can be seen in the center of the GIMP.
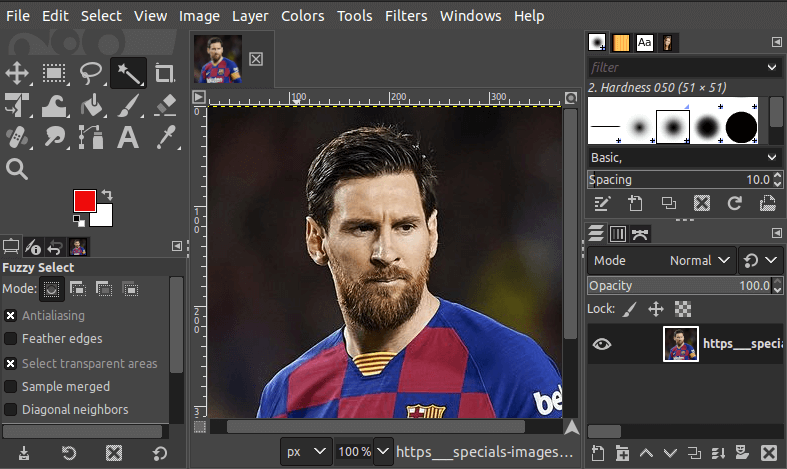
Step2: Add Alpha Channel
The Alpha channel is used for transparency. It is crucial to add an alpha channel to the image for removing the main object from the image.
To add an alpha channel right click on the current layer and select the add alpha channel option from the layers dialog window at the right on the GIMP's UI. If it is not visible, make it visible from the Windows-> Dockable Dialogs -> Layers menu.
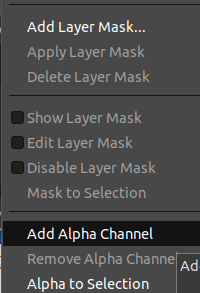
The add alpha channel option will be grayed out if the image already has an alpha channel. We can also do the same by selecting the add alpha channel option from the Layers-> transparency -> Add Alpha Channel menu.
Step3: Select the Fuzzy Select Tool
To select the fuzzy select tool, navigate to Tools-> Selection Tools menu and select the Fuzzy Select tool. We can also select it by hitting the U key or clicking on the below icon in the toolbox:
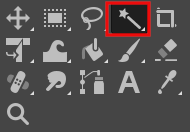
It will activate the Fuzzy select tool.
Step4: Select the Background
After selecting the Fuzzy Select tool, start selecting the background by clicking on the background. To select the proper background, pick the right starting point; otherwise, we will not get what we want.
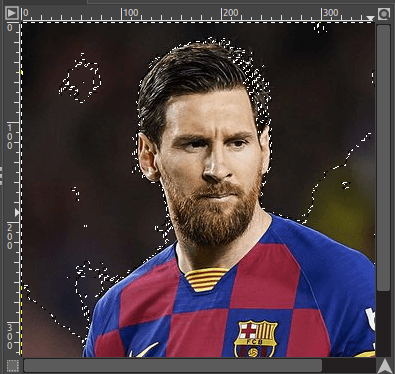
Step5: Delete Background
After Selecting the background, hit the Delete key to remove the background. Keep selecting and deleting until the entire background is not deleted.
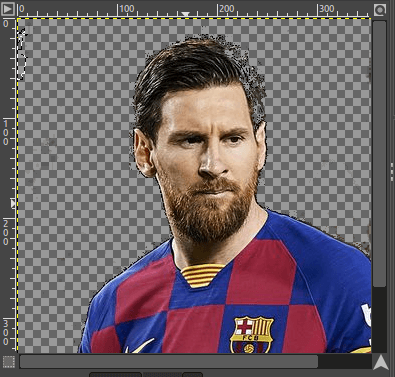
It will delete the background and display the transparency so that later we can fill it with other backgrounds. We can also save it without background. If our main object is deleted, we can fix it by using the clone tool. It is recommended to zoom the image while selecting the background for better quality. To zoom the image, hold the CTRL-key and zoom using the mouse.
Step6: Add New Background
Now, we can add a new background to it. For example, we want to fill it with a black background. Select the bucket fill tool from the Tools-> Paint Tools menu and select black as the current foreground color. Start filling it for improved quality zoom the pixels while filling the color.
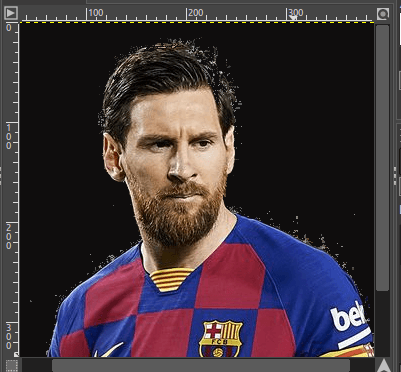
Similarly, we can fill it with any color or image pattern. Our image with the new background is ready; we can save it in any of the supported image formats by using the Export As option from the file menu.
Remove Background Using Select By Color Tool
The Select By Color tool allows us to create a selection of similar colors in the image. It is an easier method than the fuzzy select method. By selecting a start point, it will select all the pixels around it and on the entire image canvas having the same color. It is useful for having the same background color or a consistent background. However, it will work for inconsistent backgrounds as well.
To activate the select by the color tool, select the By Color option from the Tools-> Selection Tool menu or hit the "SHIFT+O" keys. We can also select it by clicking on the below icon in the toolbox:
Now, we can remove the background using it. To remove the background using the color select tool, open the image and add an alpha channel (First two steps). Now select a start point by clicking anywhere on the image canvas. It will select similar color pixels in the entire image.
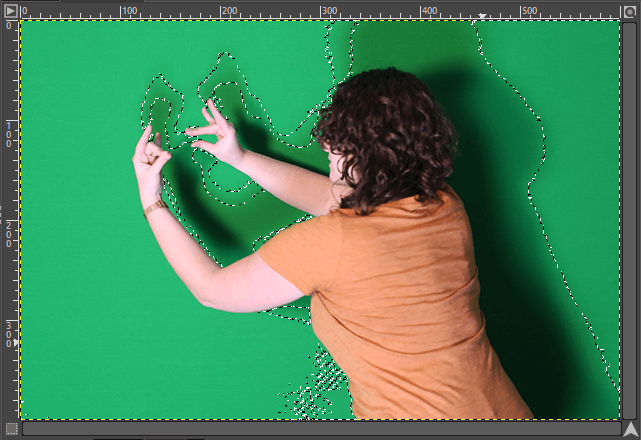
After selecting the background, properly hit the Delete key or select the Clear option from the edit menu to remove the selected part. We have to keep selecting and deleting until we did not remove the entire background. For improved results, zoom the image while removing.
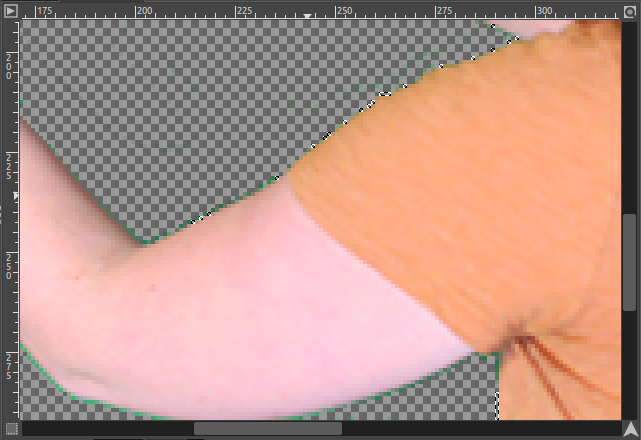
Therefore, it will remove the entire image background. Now, we have our required image ( Main Object) without background. We can now set our new background by filling the BG Color or image pattern.
To fill it with a color or image pattern, select the Bucket Fill Tool from the Tools-> Paint Tools menu. To fill it with the active foreground color, select the Color fill option, fill it with an image pattern, select the Pattern fill option from the tool option window.
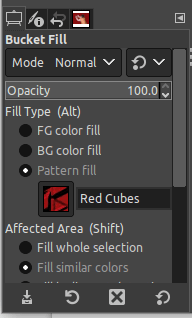
Select the pattern and click anywhere on the blank diagram. It will fill the specified pattern in the background.
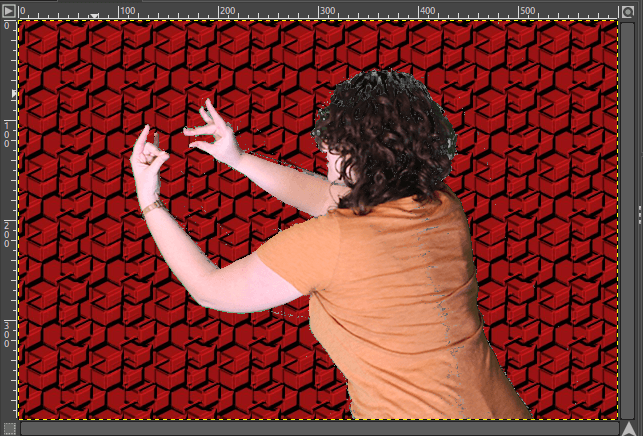
While removing or changing the background, our main object may be defective. But, we can fix this by using the heal or clone tool.
Remove Background Using the Path Tool
Path tool is also one of the essential tools of the GIMP. It allows us to select a region by specifying the path. We can remove the background by using the path selection tool. It is the most efficient way to eliminate the main object from the background. But, it requires the most skills and time. It produces the cleanest result.
We can create a selection manually by placing the smooth lines and curves. It is useful for the image that does not have enough contrast between the main object and background.
To remove the background using the path tool, open the image and add an alpha channel to it (first two steps) and select the Paths tool from the Tools menu.
Now, start selecting the path, extract the main object by selecting the path. It is recommended to zoom in while selecting the path. It will select the object.
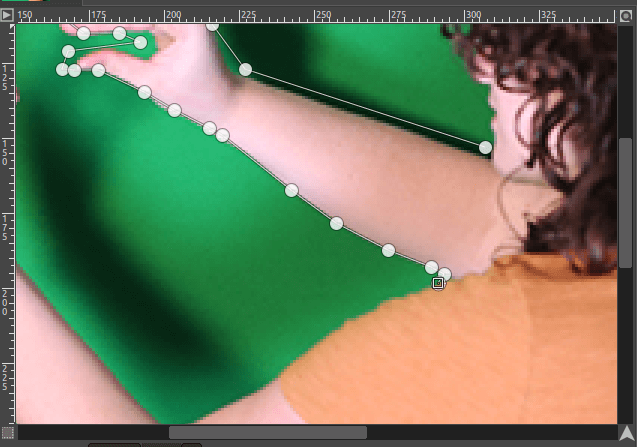
After specifying the selection, hit the Delete Key to remove the selected region from the image. We can also use the crop tool from the Tools-> Transform Tools menu to crop the object. It will extract the main subject of the image.
Remove Background Using Free Select Tool
The Free Select Tool is used to make a selection freely by selecting points on the image canvas. It works similarly to the path selection tool. We can either precisely select the main object using this tool and cut that from the entire image or select the background and remove that from the image. This tool requires much attention and time for the perfect selection.
To remove the background using the free select tool, open the image and add an alpha channel ( first two steps). Now select the free select tool and start selecting the objects.
To activate the free select tool, select the Free Select Option from the Tools-> Selection Tools menu or hit the F key. We can also select it by clicking on the below icon:
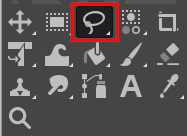
Now make a selection around the main object so that we can extract it from the background. It is recommended to zoom in while selecting the path for clean editing.
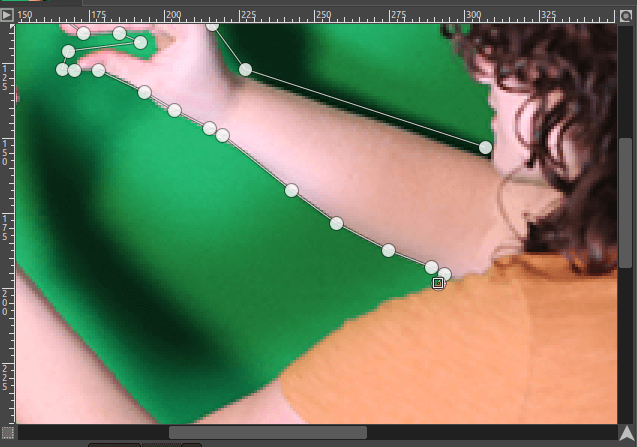
After selecting around the main object, hit the Delete key. It will make the background transparent. If the alpha channel is not added to the image, it will make a white background.
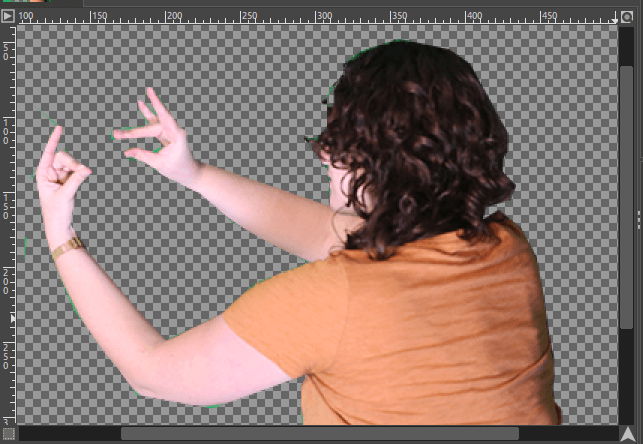
Now we can add the color or image pattern as the background.
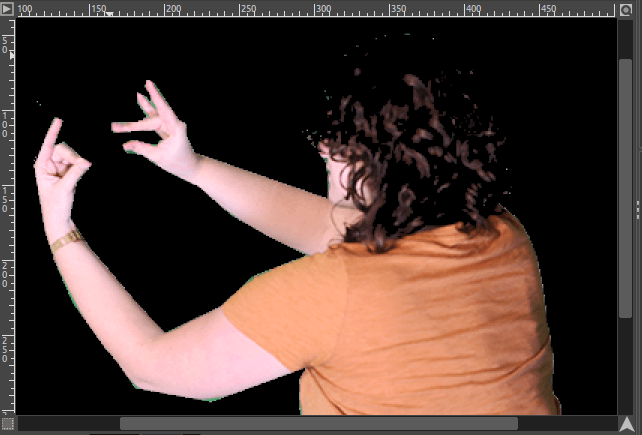
In the above image, we have filled the black color as the background color.
Hence we have discussed multiple ways to remove and change the background of the image. You can choose any of the above convenient ways. However, we can also remove the background using other tools such as layer masks, alpha channel mask, and other selection tools.
Removing the background is a crucial process, so always zoom the image while dealing with pixels. After eliminating the background, use the heal or clone tool to fix the damaged portion of the image.
Clear view of explanation. best alternative for PS those who doesn't use PS for deep designs. GIMP is best for all. thank you for step by step explanation.
ReplyDeleteHow to Remove Background in Canva