The resynthesizer plug-in is one of the finest plug-ins for GIMP. It takes photo editing to the next level with some extensive filters and editing tools. It is one of the most used plug-ins in GIMP; It takes the appearance or background of an image and modifies it. It allows us to extract elements in an image and blend it with the background.
When it comes to texture, it contains several editing tools. It provides massive support for removing background objects and replaces them with something.
In this section, we are going to discuss how to download and use the Resynthesizer plug-in.
How To Download & Install GIMP Resynthesizer
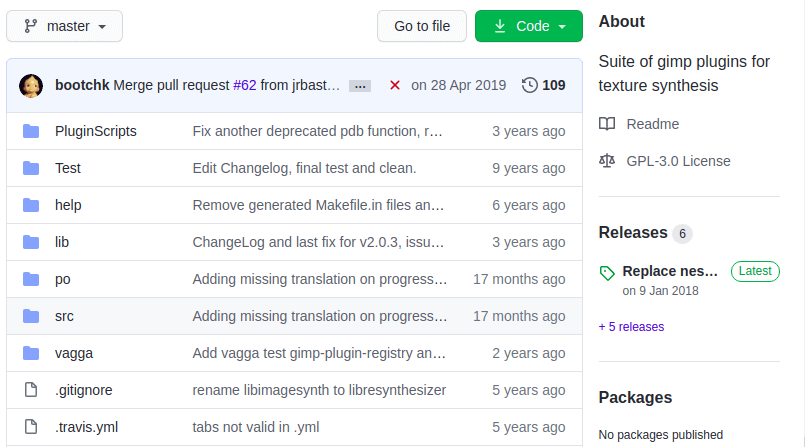
To download Resynthesizer, follow this link.

Click on the download button; it will download a zip file. Extract this file and paste the Plugin Scripts files to the GIMP's default plug-in folder.
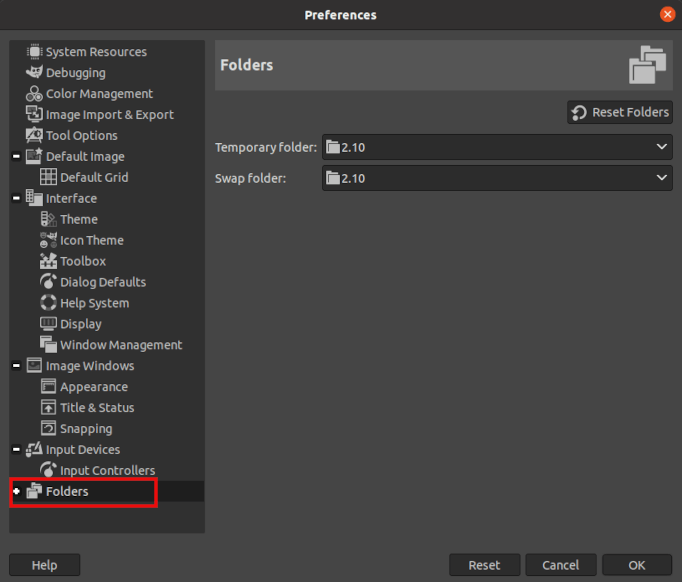
To locate the default plug-in folder, open GIMP and navigate to Edit-> Preferences menu. It will open a new window having the default settings and configurations of GIMP. Expand the Folders menu from the left menu.

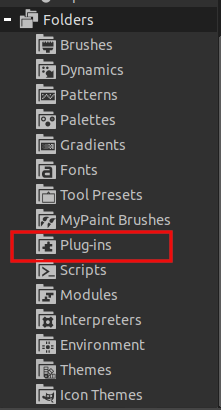
It will open the GIMP's default configuration folders. Select the plug-in folder; it will display the path of the Plug-ins folder.

Now the path can be seen as follows:

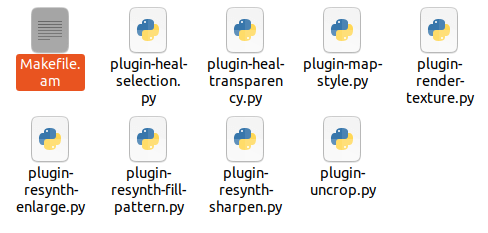
Now, Navigate to the plug-ins directory and paste the unzipped file here. The Plug-ins script files have the ".py" extension.

Now, restart GIMP to install the resynthesizer plug-in in GIMP.
How to Use Resynthesizer Plug-in
To use the resynthesizer plug-in options, make sure it is appropriately installed in GIMP. After successful installation, it will add the plug-in's editing tools such as Heal Selection, Heal Transparency, Uncrop, Style, texture etc.
To use these tools, navigate to Filters → Enhance, Filters →Map and Filters→Render menu. It will work similarly as built-in filters in GIMP. It provides the following tools to edit the image:
Heal Selection Tool: The Heal Selection Tool is one of the most used and useful tools provided by resynthesizer. It is useful for removing the unwanted content, objects from the image.
To use the Heal Selection Tool, navigate to the Filters → Enhance →Heal Selection menu.
Heal Transparency Tool: It is an easy to use tool. It is handy to fix the broken pitches in the images. It is also used to adjust the defected area. It heals all the transparent pixels in the image.
To use the Heal Transparency Tool, add an alpha channel to the image, then navigate to the Filters→ Enhance→ Heal Transparency menu.
Enlarge & Sharpen: The Enlarge and Sharpen tool is used to Enlarge and Sharpen images. The Sharpen tool is used to gathers information from the surrounding pixels and enhance contrast. It zooms the image and makes it sharper for a clear view. We can adjust the amount from [1-32] to Enlarge or Sharpen the image on the Scale.
Uncrop Tool: The Uncrop tool is not exactly inverse to crop, as its name suggests. It is used to larger the canvas and fixes the borders. It is a handy tool for expanding the boundaries of the image.
It is best used for enlarging the natural edges. It enlarges the image by matching borders. We can define the percentage of enlargement.
Style Tool: The style tool is a fundamental and handy tool for image editing. It is used to transfer styles such as surface, color, etc., from one image to another. We can select the source of style and percentage transfer.
To use the style tool, navigate to the Filters → Map → Style menu.
Texture Tool: The Texture Tool is used to add the textures to the image. It allows us to create a new image and add textures to it from an existing image. We can select the ratio and size of the image and also define whether to make new image edges or not for tiling.
To use the Texture Tool, select it from the Filters → Render → Texture menu.
No comments:
Post a Comment