Filters are one of the most used features for photo editing. It is a unique tool that takes an input layer or image, applies a mathematical algorithm to it, and provides a layer or image in a modified format. GIMP has various Filters such as Blur, enhance, distorts, light and Shadow, etc.
The GIMP filter menu contains all the filter tools.
GIMP Filter Menu
GIMP Filter menu can be browsed by selecting the Filter option from the menu bar. It contains the following tools:
- Repeat Last
- Re-Show Last
- Reset all Filters
- Blur
- Enhance
- Distorts
- Light and Shadow
- Noise
- Edge Detect
- Generic
- Combine
- Artistic
- Decor
- Map
- Render
- Web
- Animation
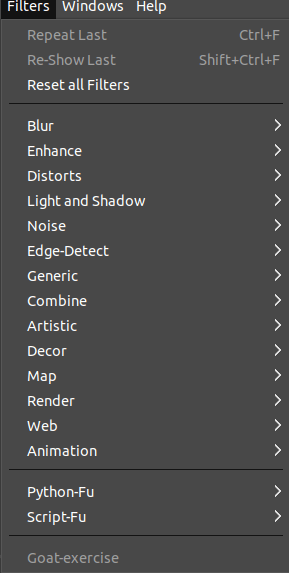
Let's understand each tool in detail:
Repeat Last
The Repeat Last tool is used to perform the last executed action with the same configuration. It will not show any dialog or confirmation message. To execute the last action, select it from the filter menu or stroke the CTRL+F keys.
Re-Show Last
The Re-Show last tool is also used to perform the last executed action with the same configuration. It is similar to repeat the last action, the difference between both the tools is it displays a dialog for configuration.
To perform the re-show last action, select it from the filters menu or stroke SHIFT+CTRL+F keys.
Reset All Filters
The Reset All Filters tool generally runs a plug-in and displays a dialog with all of the previously initialized settings. It is useful for recovering former setting values.
To reset the previous initialized settings, select it from the filter menu.
Blur
The Blur tool is used to blur the objects or parts of the image in different ways. It also works on a selection. There may be some leakage of colors from the unblurred area to the blurred area.
The Blur sub-menu contains the following blur effects:
- Focus Blur
- Gaussian Blur
- Lens Blur
- Mean curvature Blur
- Median Blur
- Pixelize
- Selective Gaussian Blur
- Variable Blur
- Circular Motion Blur
- Linear Motion Blur
- Zoom Motion Blur
- Tileable Blur
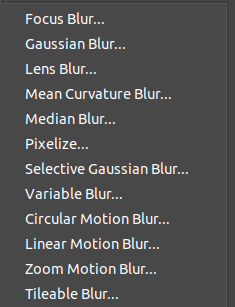
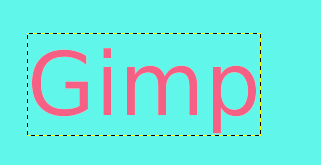
Below is the example of the blur effect:
Original image (Before Blur):
After Blur:
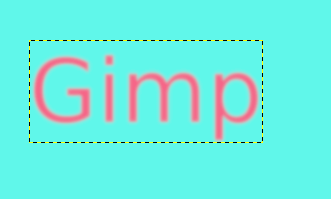
Like the above blur effect, we can choose the different blur effects from the above list.
Enhance
The Enhance filters are used to reimburse image defects such as dust particles, noise, interlaced frames, and insufficient sharpness. It is a comprehensive and useful tool for photo editing.
The Enhance sub-menu contains the following effects:
- Antialias
- Deinterlace
- High Pass
- Noise Reduction
- Red Eye Removal
- Symmetric Nearest Neighbor
- Sharpen
- Despeckle
- Destripe
- NL Filter
- Wavelet-decompose
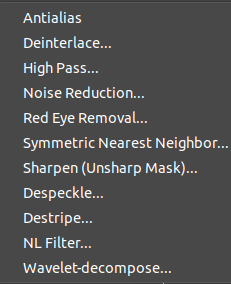
Each of the filters has an interactive and unique effect on the image. Select the desired enhance filter from the above menu to use it.
Distorts
The distorts filter is used to transform the image in different ways. The distort sub-menu contains the following tools for transforming the image:
- Apply Lens
- Emboss
- Engrave
- Lens Distortion
- Kaleidoscope
- Mosaic
- Newsprint
- Polar coordinates
- Ripple
- Shift
- Spherize
- value Propagate
- Video Degradation
- Waves
- Whirl and Pinch
- Wind
- Curve Bend
- Emboss
- page curl
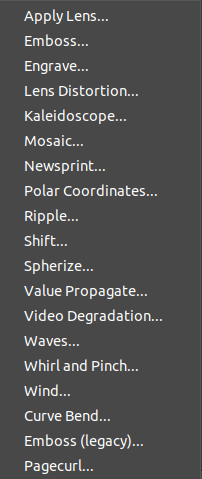
All of the above effects have an interactive and unique effect on the image. Select the effect which you want to apply to the image.
Light and Shadow
The Light and Shadow tool is also one of the most used tools in photo editing. In this sub-menu, you can find the two group of effects
Light effects: The light effects are used to render several illumination effects of the image.
Shadow effects: The Shadow effects are used to create various kinds of shadows.
The Light and Shadow sub-menu contains the following tools:
Light effects:
- Bloom
- Supernova
- Lens Flare
- Gradient Flare
- Lightning effects
- Sparkle
Shadow Effects:
- Drop Shadow
- Long Shadow
- Vignette
- Drop Shadow (legacy)
- Perspective
- Xach effect
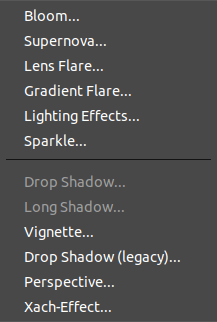
All of the above effects have an interactive and unique effect on the image. Select the effect which you want to apply to the image. It is useful for creating an interactive image.
Noise
Noise filters are used to add noise to the current layer or selection. The noise in the image is the random variation of brightness or color information. It is a beneficial aspect of the image to clarify it.
Usually, the noise can be produced by the image sensor, digital camera, or circuitry of a scanner.
The noise sub-menu has the following noise features:
- CIE lch Noise
- HSV Noise
- Hurl
- Pick
- RGB Noise
- Slur
- Spread
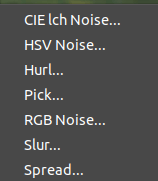
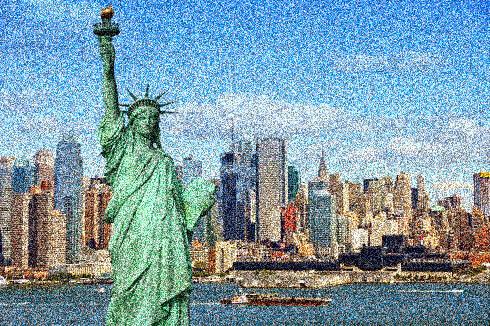
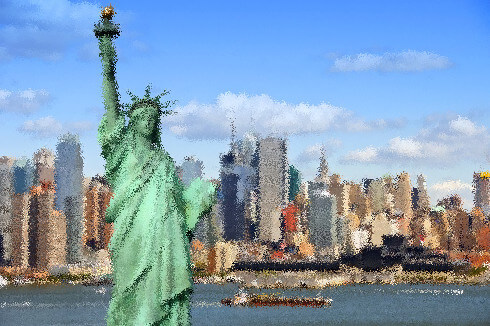
Every noise tool has a unique effect on the image. It can be selected from the Filters-> Noise sub-menu.
Below are some examples of the noise:
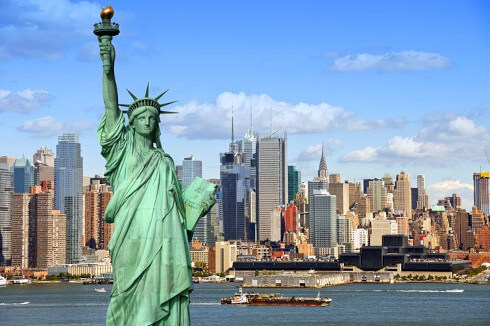
Original image (Before Noise filter):
CIE lch Noise Effect:
Spread Noise Effect:
Edge Detect
The Edge Detect tool is used to search the borders between different colors. It is useful for making selections and other artistic purposes. This feature is based on gradient calculation methods. It contains the following edge detection tools:
- Difference of Gaussians
- Edge
- Laplace
- Neon
- Sobel
- Image Gradient
- Difference of Gaussians (legacy)
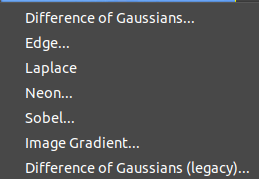
Each of the above tools is based on some specific algorithms and has a unique behavior. However, all tools detect the edge of the image.
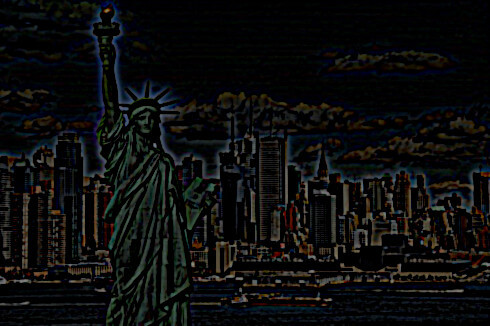
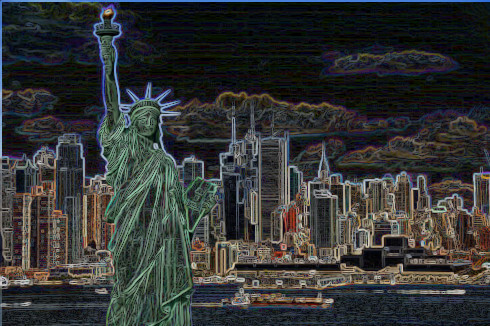
Below are some examples of edge detection tools:
Difference of Gaussian effect:
Sobel effect:
Generic
The Generic tool brings all filters together, which can't be placed elsewhere. The generic sub-menu contains the following tools:
- Convolution Matrix
- Distance Map
- GEGL Graphs
- Normal Map
- Dilate
- Erode
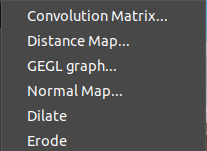
All of the above tools have a unique effect on the image. Like the Convolution Matrix tool allows us to build a custom filter.
The Distance Map tool allows us to replace each pixel in the image with a gray value dependent on the nearest obstacle pixel's distance.
The Dilate tool allows us to widen and enhances dark areas of the current layer or selection.
Combine
The Combine tool is used to combine the two or more images into one image. It provides two options for merging:
- Depth Merge
- Filmstrip
Artistic
The Artistic tool is used to create artistic effects like cubism, oil painting, canvas, and many more. It contains the following sub-menu:
- Apply Canvas
- Cartoon
- Cubism
- Glass Tile
- Oilify
- Photocopy
- Simple Linear Iterative Clustering
- Soft glow
- Waterpixels
- Cartoon (legacy)
- Clothify
- GIMPPrecessionist
- Photocopy (legacy)
- Predator
- Van Gogh
- Weave
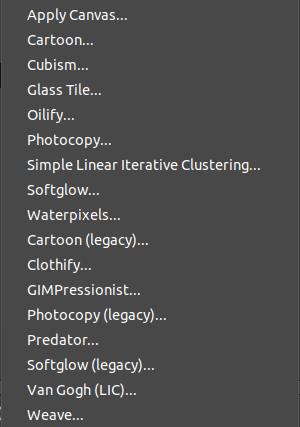
All of the above tools have their unique behavior and feature. To apply any of the above effects on the image, select it from the filters menu.
Decor
The Decor tools have image-dependent Script-Fu scripts used to create decorative borders and add some special effects to the image.
The decor sub-menu contains the following tools:
- Add Bevel
- Add Border
- Coffee Stain
- Fog
- Fuzzy Border
- Old Photo
- Round Corners
- Slide
- Stencil Carves
- Stencil Chrome
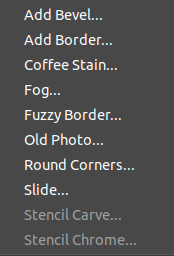
All of the above tools have some unique and special effects on the image. To apply an effect, select it from the filters menu.
Map
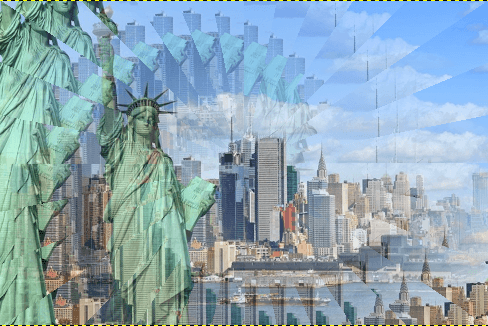
The Map tool is used to map the image to object; it uses an object "map" to modify the image. It is useful for creating a 3D effect on the image. It can also map a part of the image ( Using Illusion tool) and bend a text (Displace tool) along the curve.
The Map sub-menu contains the following tools:
- Bump Map
- Displace
- Fractal Trace
- Illusion
- Little Planet
- Panorama Projection
- Recursive Transform
- Paper Title
- Tile Seamless
- Fractal Trace
- Map Object
- Tile
- warp
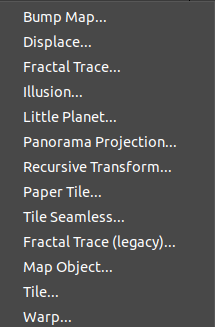
Each of the above tools has a unique and special effect. To apply any of the above effects, select it from the Filters-> Map menu.
Below is the example of illusion tool:
Render
The render tool is used to create patterns from scratch. Most of the filters and effects work on a layer or a selection, but they create the effect from scratch.
The Render sub-menu contains the following tools:
- Fractal
- Noise
- Pattern
- Circuit
- Gfig
- Lava
- Line Nova
- Sphere Designer
- Spyrogimp
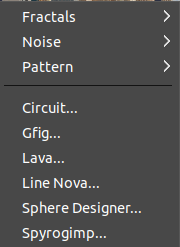
To apply any of the above effects, select it from the Filters-> Render menu.
Web
The web tool is used on images mentioned for web sites. It is useful for the ImageMap feature to add clickable "hot spots" on the image.
The Web sub-menu contains the following tools:
- Semi Flattern
- Image Map
- Slice
Animation
The Animation tool allows us to view and optimize our animations. The Animation sub-menu contains the following tools:
- Blend
- Burn-in
- Rippling
- Spinning Globe
- Waves
- Optimize
- Optimize ( For GIF)
- Playback
- Unoptimized
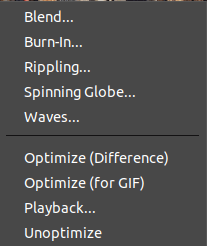
Each of the above tools has a unique effect. To apply any of the above effects, select it from the Filters-> Animation menu.
No comments:
Post a Comment