Saturday, 5 December 2020

What is List view in PhoneGap?

 A JQuery listview is designed as a simple unordered list having linked list items. It is created by using the attribute data-role="listview". For transforming the list into a mobile-friendly list view, the JQuery mobile library applies all the required styles. It will transform a list with a right arrow indicator. This indicator fills the full width of the browser window. When we click on the list item, the following operations will be performed:

  1. The framework will trigger a click on the first link inside the list item
  2. Issue an Ajax request for the URL in the link
  3. Create the new page in the DOM
  4. Kick off a page transition

These are the following steps used to create a list view in PhoneGap:

1) Create index4.html file

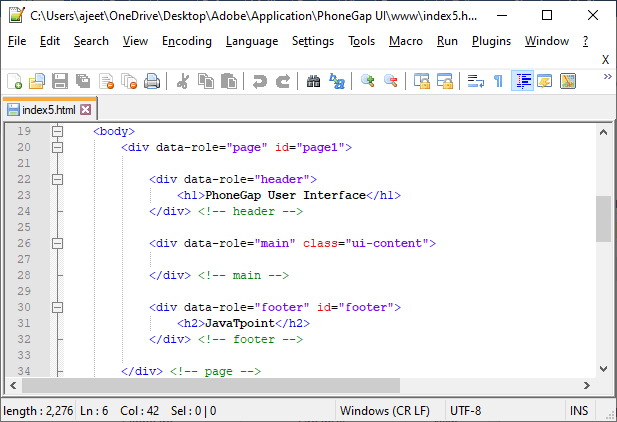
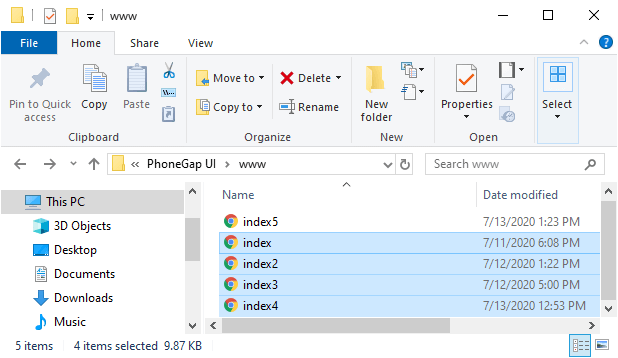
We will create a new file index5.html with the same code as preset in the index4.html except for the collapsible content section and button in the page 1 section. We will make changes later in the index5.html file, not in index4.html.
List view in PhoneGap

2) Create <ul></ul> tag

The list view starts with an unordered and ordered list. The unordered list will give us a list view that is non-numbered and the ordered list will give us a list view that is numbered. We will use <ul></ul> tag with data-role attribute in the following way:

  1. <div data-role="main" class="ui-content">  
  2. <ul data-role="listview">  
  3.   
  4.     </ul>  
  5. </div> <!-- main -->  

3) Adding list items in the list view

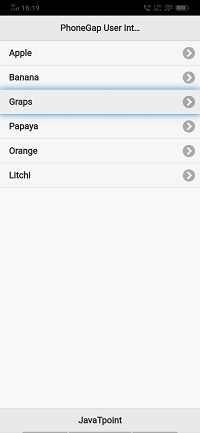
Now, we will add the list items in the list view by using <li></li> tag. We will use these tag in between the <ul> and </ul> tag. We can add more than one list items using more <li></li> tags. This will be a default list view coded as:
  1. <div data-role="main" class="ui-content">  
  2.     <ul data-role="listview">  
  3.         <li> Apple </li>  
  4.         <li> Banana /li>  
  5.         <li> Graps </li>  
  6.         <li> Papaya </li>  
  7.         <li> Orange </li>  
  8.         <li> Litchi </li>  
  9.     </ul>  
  10. </div> <!-- main -->  


List view in PhoneGap

4) Involve links

Now, if these list items are surrounded by links within the each list items, the list view would be interactive and each one of these items will work as a button to go to the individual address inside the href attribute in the link. We will be code this in the following way:

  1. <div data-role="main" class="ui-content">  
  2.     <ul data-role="listview">  
  3.         <li><a href="#"> Apple </a></li>  
  4.         <li><a href="#"> Banana </a></li>  
  5.         <li><a href="#"> Graps </a></li>  
  6.         <li><a href="#"> Papaya </a></li>  
  7.         <li><a href="#"> Orange </a></li>  
  8.         <li><a href="#"> Litchi </a></li>  
  9.     </ul>  
  10. </div> <!-- main -->  


List view in PhoneGap

5) Creating a numbered list

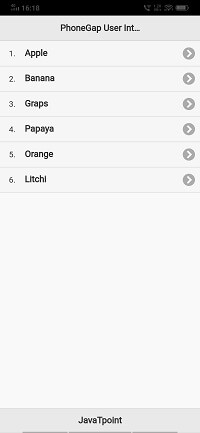
If we want to create an ordered list view, we will use the <ol></ol> tag rather than using <ul></ul> tag in the following way:
  1. <div data-role="main" class="ui-content">  
  2.     <ol data-row="listview">  
  3.         <li><a href="#"> Apple </a></li>  
  4.         <li><a href="#"> Banana </a></li>  
  5.         <li><a href="#"> Graps </a></li>  
  6.         <li><a href="#"> Papaya </a></li>  
  7.         <li><a href="#"> Orange </a></li>  
  8.         <li><a href="#"> Litchi </a></li>  
  9.     </ol>  
  10. </div> <!-- main -->  


List view in PhoneGap

6) Adding a description to the list item

If we want to format the list items, we can do that also. We can use heading tag(<h1></h1>) and paragraph tag(<p></p>) to format our list item in the following way:
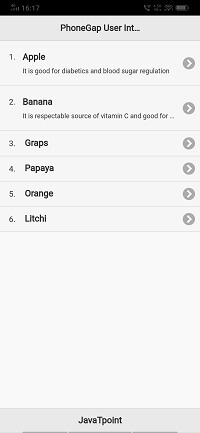
  1. <div data-role="main" class="ui-content">  
  2.     <ol data-row="listview">  
  3.         <li><a href="#"><h3> Apple </h3><p> It is good for diabetics and blood sugar regulation </p></a></li>  
  4.         <li><a href="#"><h3> Banana </h3><p> It is respectable source of vitamin C and good for our heart </p></a></li>  
  5.         <li><a href="#"> Graps </a></li>  
  6.         <li><a href="#"> Papaya </a></li>  
  7.         <li><a href="#"> Orange </a></li>  
  8.         <li><a href="#"> Litchi </a></li>  
  9.     </ol>  
  10. </div> <!-- main -->  


List view in PhoneGap

7) List divider attribute

Now, we will use the list divider attribute to divide or break the list into two parts. We will use the <li></li> tag for this purpose in the following way:
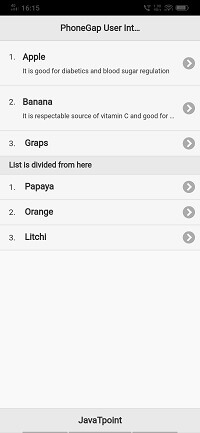
  1. <div data-role="main" class="ui-content">  
  2. <ol data-role="listview">  
  3.             <li><a href="#"><h3> Apple </h3><p> It is good for diabetics and blood sugar regulation </p></a></li>  
  4.         <li><a href="#"><h3> Banana </h3><p> It is respectable source of vitamin C and good for our heart </p></a></li>  
  5.         <li><a href="#"> Graps </a></li>  
  6.         <li data-role="list-divider"> List is divided from here </li>   
  7.         <li><a href="#"> Papaya </a></li>  
  8.         <li><a href="#"> Orange </a></li>  
  9.         <li><a href="#"> Litchi </a></li>  
  10.     </ol>  
  11. </div> <!-- main -->  


List view in PhoneGap

No comments:

Post a Comment