In our previous section, we learned about how we can use the localStorage object to store and retrieve data from the mobile device. In this section, we will learn about the most sophisticated feature, i.e., the SQLite database. If we had worked with the database before, it would be very easy to work with it.
In PhoneGap, there is a full SQL compliant database that lives in our application and store data on the device. It will be very useful for more complex information which doesn't work for local storage. It is a kind of file format. These are the following steps used for creating and storing data:
1) Create a new project:
Firstly, we will create a new PhoneGap project with a blank template. If you don't know how to create an app with a blank template, go through the PhoneGap project link.

2) Create a form
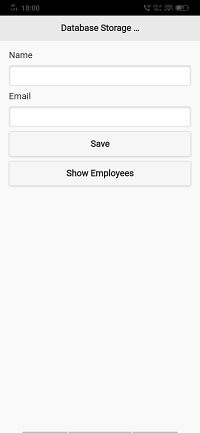
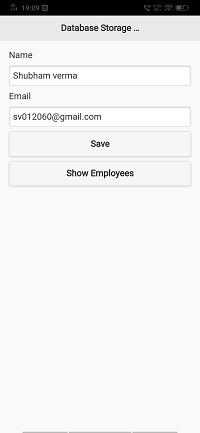
Now, we will create a form or user interface to take data from the user. In this form, we will add two text fields for name and email with a label for each. We will also add two buttons for retrieving and storing data. The form will look like:

3) Creating a window.onload function
We will create window.onload function below of our JQuery mobile library. This function will automatically be called when the window screen will be loaded. In this function, we will get the save button using id and add an event to call the saveData function. The window.onload function will be coded in between the <script></script> tag in the following way:
Our database will also open at the same time when the window screen will be loaded. So, we will also do the code for opening the database in the same window.onload function using the window.openDatabase. This function contains four parameters, i.e., database name, version, description, and the size of the database in bytes. We will use this function in the following way:
4) Creating saveData function
Now, we will create the saveData function having one argument. This argument's name can be anything. We will create the transaction function, which will run by the database object db. This transaction function will callback three more functions, i.e., saveRecord, onSuccess, and onError.
5) Creating saveRecord function
Now, we will create the first callback function, i.e., saveRecord. This function takes the transaction as an argument or parameter. In this function, we will fetch the data from the user interface, and then we will create a table in which our data will be stored using executeSql function in the following way:
Next, we will create another SQL statement. We will insert our data into the table using the insert SQL statement. This statement will be executed in the database through the executeSql function and it will be coded as:
6) Creating onSuccess and onError function
The onSucess function will be called when our data will be stored in the database, and the onError function will be called when an error or bug will arise. These two functions will be coded in the following way:

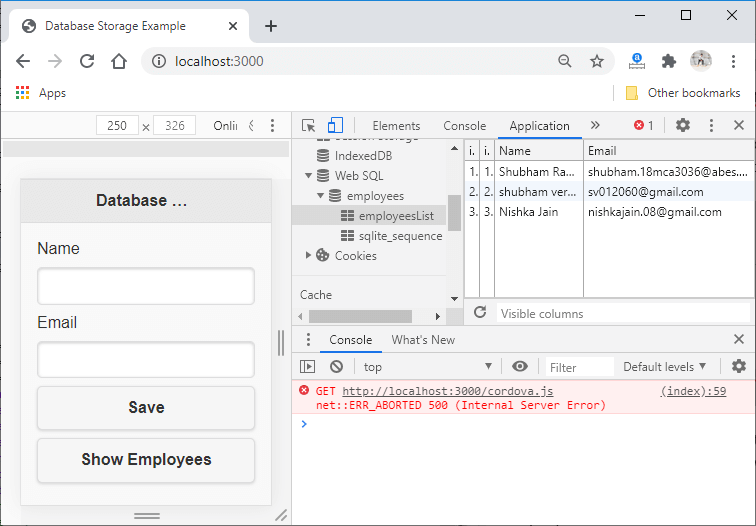
We can see our stored data using the browser. We have to go to the Developer tools, and in the storage section, we can see our database, table, and our data.

In the next section, we will learn how we can retrieve the data from the SQLite database.
No comments:
Post a Comment