In our previous section, we learned how we can create a table in the SQLite database and how we can insert the data into the database table. In this section, we will learn about how we can fetch the data from the database and how it will be visible on the user interface.
We will use the select statement to fetch data from the table and use the unordered list as a list view where our data will be shown:
These are the following steps used to fetch data from the SQLite database:
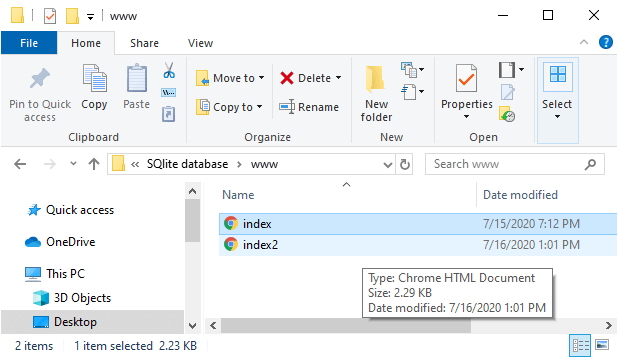
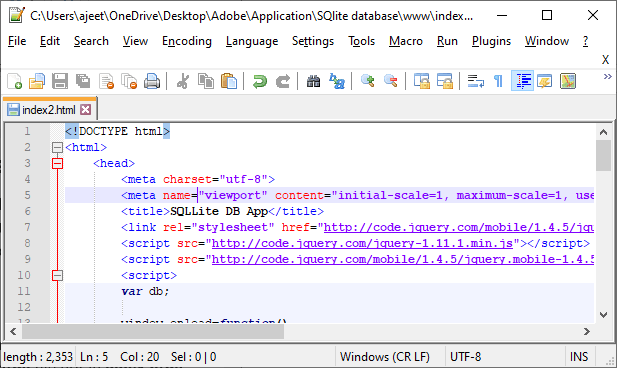
1) Create index2.html file
We will create a new file index2.html with the same code as present in the index.html. We will make changes later in index2.html file not in index.html.
2) Creating a list view
Now, we will first create a list view using <ul></ul> tags. This list view will show all the result on the user interface. We will give an id to this list view and code in between the <body></body> tags as:
- <body>
- <div data-role="page">
- <div data-role="header"><h1> SQLite database example </h1></div>
- <div data-role="main" class="ui-content">
- <label for="name"> Name </label>
- <input type="text" id="name" />
- <label for="email"> Email </label>
- <input type="text" id="email" />
- <button id="btnSave" type="submit"> Save </button>
- <ul id="members" data-role="listview">
- </ul>
- <script type="text/javascript" src="cordova.js"></script>
- </div>
- </div>
- </body>
3) Create and execute the select statement
Now, we will go to our saveRecord function and do the modification here. We will add a select statement using the transaction.executeSql function. This function will also have four parameters, i.e., select statement array getSuccess callback function, and getError callback function. We will add the select statement in the following way:
- transaction.executeSql("SELECT * FROM employeesList", [], getSuccess, getError);
4) Create getSuccess function
Now, we will create the getSuccess function in between the <script></script> tags. The getSuccess function will have two parameters, i.e., transaction and result. In this function, we will create a row object and create a loop for showing the name and email of each record. We will create a variable for both the name and the email, and then we will add this name and email to our list view in the following way:
- function getSuccess(tx, result)
- {
- var rows = result.rows;
- for(var x=0; x< rows.length; x++)
- {
- var name = result.rows[x].Name;
- var email = result.rows[x].Email; <!?Fetching Email -->
- var out = "<li>" + name + "<br/>" + email + "</li>"; <!?Store data in list-->
- document.getElementById('members').innerHTML += out; <!?Adding list in the list view -->
- }
-
- $('#members').listview('refresh');
- }
5) Create getError function
The getError function will be used to show the error on the console if it is raised. The getError function will be created in the following way:
- function getError(e)
- {
- console.log(e);
- }
Complete Code:
- <!DOCTYPE html>
- <html>
- <head>
- <meta charset="utf-8">
- <meta name="viewport" content="initial-scale=1, maximum-scale=1, user-scalable=no, width=device-width">
- <title>SQLLite DB App</title>
- <link rel="stylesheet" href="http://code.jquery.com/mobile/1.4.5/jquery.mobile-1.4.5.min.css" />
- <script src="http://code.jquery.com/jquery-1.11.1.min.js"></script>
- <script src="http://code.jquery.com/mobile/1.4.5/jquery.mobile-1.4.5.min.js"></script>
- <script>
- var db;
-
- window.onload=function()// it is a function call.
- {
- document.getElementById('btnSave').addEventListener('click', saveData);
- db = window.openDatabase("employees", "1.0", "LearnToProgram", 200000);
- }
-
- function saveData(e)
- {
- db.transaction(saveRecord, onSuccess, onError);
- }
-
- function saveRecord(transaction)
- {
- var name= document.getElementById('name').value;
- var email = document.getElementById('email').value;
- transaction.executeSql('CREATE TABLE IF NOT EXISTS employeesList (id INTEGER PRIMARY KEY AUTOINCREMENT, Name TEXT NOT NULL, Email TEXT NOT NULL) ');
-
- var sql= "INSERT INTO employeesList (Name,Email) VALUES ('" + name +"', '" + email + "')";
- console.log(sql);
- transaction.executeSql(sql);
- transaction.executeSql("SELECT * FROM employeesList", [], getSuccess, getError);
- }
- function getSuccess(tx, result)
- {
- var rows = result.rows;
- for(var x=0; x< rows.length; x++){
- var name = result.rows[x].Name;
- var email = result.rows[x].Email;
- var out = "<li>" + name + "<br/>" + email + "</li>";
- document.getElementById('members').innerHTML += out;
- }
-
- $('#members').listview('refresh');
- }
- function getError(e)
- {
- console.log(e);
- }
-
- function onSuccess()
- {
- console.log("Record Saved");
- }
-
- function onError(error)
- {
- console.log(error);
- }
- </script>
- </head>
- <body>
- <div data-role="page">
- <div data-role="header"><h1> SQLite Database Example</h1></div>
- <div data-role="main" class="ui-content">
- <label for="name">Name</label>
- <input type="text" id="name" />
- <label for="email">Email</label>
- <input type="text" id="email" />
- <button id="btnSave" type="submit">Save</button>
- <ul id="members" data-role="listview">
- </ul>
- <script type="text/javascript" src="cordova.js"></script>
- </div>
- </div>
- </body>
- </html>
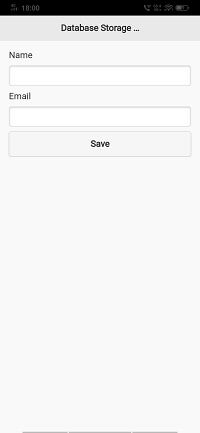
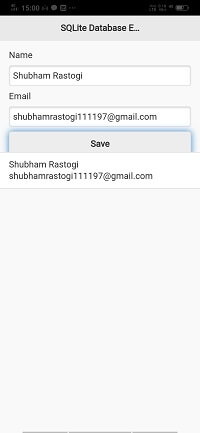
Output:
No comments:
Post a Comment