In our previous section, we learned about the device info plugin. In this section, we will learn about the remaining plugins, i.e., device orientation plugin, Network Information plugin, and Battery status plugin. The complete description of each plugin is given below:
Device orientation plugin
For device orientation, we will use our previous example, i.e., Device info example. We will use the following steps to work with device orientation plugin in our PhoneGap application:
1) Create index2.html file
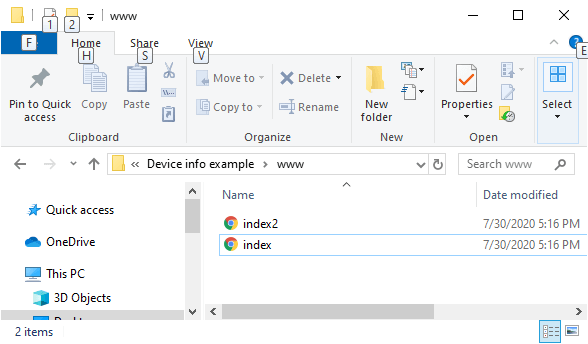
We will create a new file index2.html with the same code as preset in the index.html. We will make changes later in index2.html file not in index.html.

2) Create a field to show the orientation on the UI
We will add a heading in our application using <h1></h1> tag. After that we will use a field for showing the orientation information on the user interface using <div></div> tag.
3) Make changes in the window.onload function
Now, we will make some changes to the window.onload function. We will create a watch Id because the compass will keep working until we stop it. So eventually, we want to clear that watch Id. We will access it using the navigator.compass.watch heading (). This function takes three callback functions, i.e., success, error, and frequency. We will access the watchId in the following way:
4) Create success and error callback function
We will make the success and error callback functions. The success and error functions take heading and error as arguments, respectively. In the error callback function, we will simply use the alert function, and in the success function, we will set the orientation data in the orientation div in the following way:
Note: We can or cannot see the orientation information. We can see it only when the manufacturer of the device allows it.
Network information plugin
Now, we will take a look at the network information plugin. We will add some lines of code in our index2.html. These are the following steps that we will perform to work with the Network Information plugin. By using this plugin, we can find out exactly what type of network we are connected to.
1) Create a field for showing the network information on the UI
We will add a heading in our application using <h1></h1> tag. After that we will use a field for showing the orientation information on the user interface using <div></div> tag.
2) Adding network information in the window.onload function
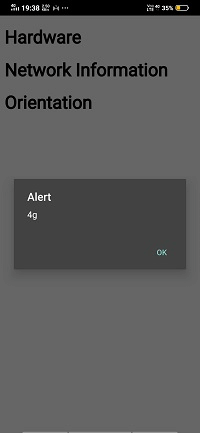
We will create a variable and store the data returned by the navigator.connection.type and pass that variable into an alert function in the following way:

It really looks good but there is a bunch of other types which are required to know. The connection can be unknown, Ethernet, Wi-Fi, 2G, 3G and 4G etc. We can access different types of connection using enumeration. We will create an enumeration conType. We will access the element using id in which we show the result on the UI in the following way:
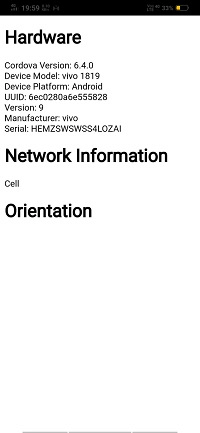
Now, we will run our application on the PhoneGap Developer App:

Battery status plugin
Battery status is another piece of the hardware that PhoneGap can interact with. It is required to look at battery status if we are going to perform a critical operation. We want to make sure that it is not going to run out of batteries during the operation. There is a couple of different ways to get the battery status. We will use the following steps to get the battery status in our application:
1) Create batterystatus event listener
Now, we will attach an event listener called batterystatus with our window. This event listener will call the onBatteryStatusChange function. This function will take the battery status as an argument. The batteryStatus event listener will be written in the following way:
2) Create onBatteryStatusChange function
Now, we will create the onBatteryStatusChange callback function. This callback function contains an alert function which tells us about the level of the status and whether the status is plugged in or not. The onBatteryStatusChange function is designed in the following way:
We can also use batterylow and batterycritical event listener rather than using batterystatus. They both work in the same way as battery status work. The batterylow and batterycritical event listeners are designed in the following way:
Complete Code
Output

No comments:
Post a Comment