Saturday 5 December 2020

How to do Push Notification in PhoneGap?

 In this section, we will learn about the push notification. These notifications are those notifications that we receive on our device while running an application, or we are just thumbing through the operating system. It is the first and often one of the most important communication channels used by our apps. The push notification is used by mostly apps for transactions and re-engagement. Push information technology is rapidly evolving from a simple message delivery system to a rich and interactive medium.

For push notification, we will first set up the command line interface where we can interact with our device via our computer's command line. After that, we will connect the device via the command line and send basic information. Push notification allows us to integrate our PhoneGap application with the operating system.

Setting up the CLI

If we don't have the CLI installed or PhoneGap command-line interface, we have to install it in the following way:

1) Install nodejs

For setting up the CLI, we first need to install the node.js. It is unrelated, but this is basically a version of JavaScript that runs on our desktop. We will go to the https://nodejs.org/en/ link to download the nodejs.

Push Notification

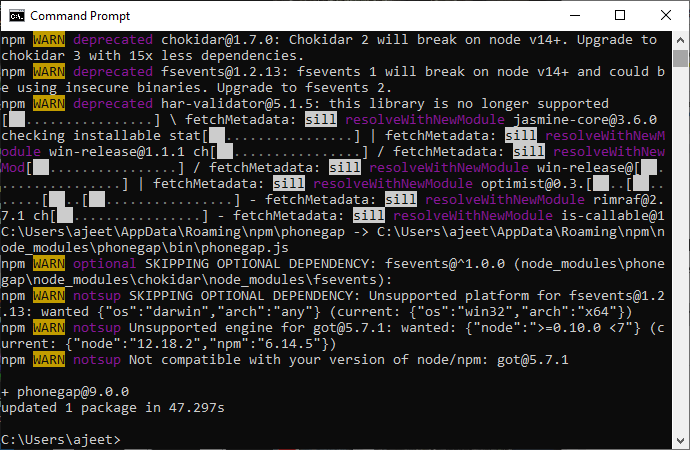
2) Install PhoneGap command-line app

After installing the nodejs, we will install the PhoneGap command-line app. Now, we will use our command line and run the following command to install the PhoneGap command line app:

  1. npm install -g phonegap  


Push Notification

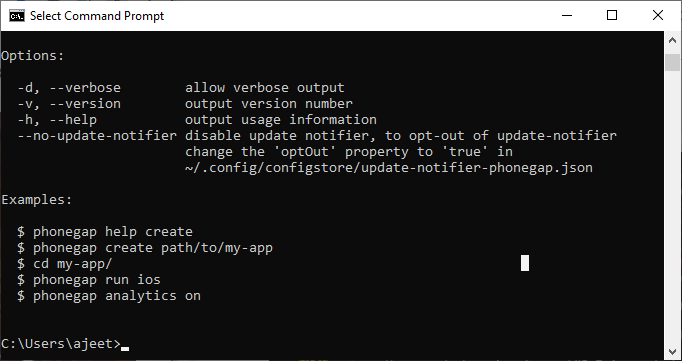
We will simply run the command phonegap to check whether the PhoneGap command-line app is installed in our system or not.

Push Notification

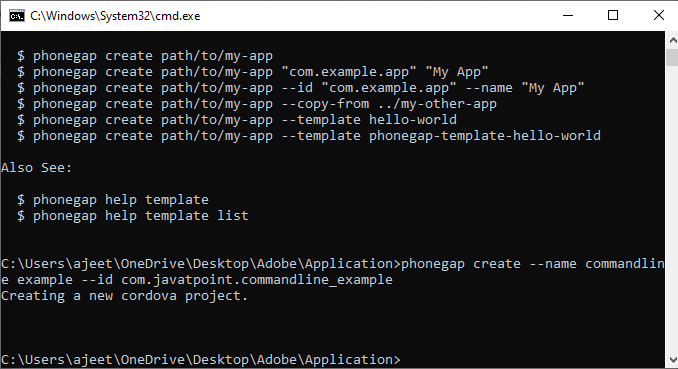
3) Create a PhoneGap project

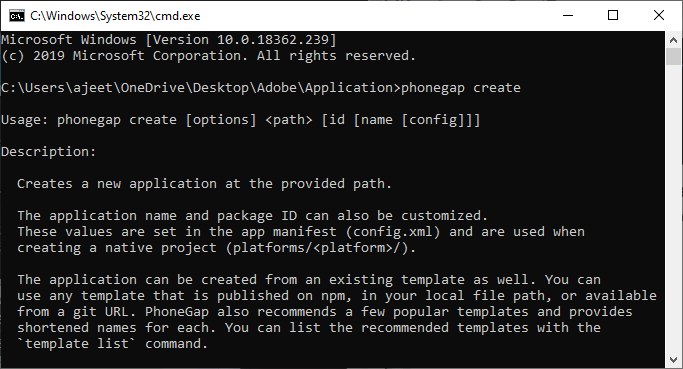
Now, using the command line, we will create a PhoneGap project. We will use the phonegap create command for this in the following way:

  1. C:\Users\ajeet\OneDrive\Desktop\Adobe\Application>phonegap create  

This command will create the PhoneGap project on the provided path.

Push Notification

Now, we will give it name and id using the following command:

  1. ¬¬phonegap create --name command-line example --id com.javatpoint.commandline_example  


Push Notification

4) Connecting to a device

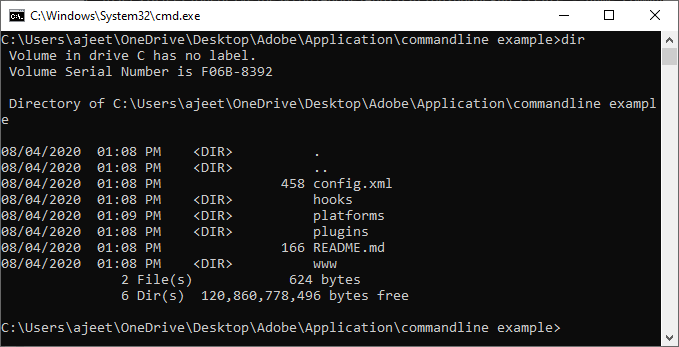
After installing the PhoneGap CLI, we will connect it with an actual application. We will enter into our application using the command line, and at that time, we have to make sure that our PhoneGap Desktop application is not running because it can run only on one server at a time and PhoneGap Desktop app has its own server. So we will first run the dir command to make sure we are in the app or not, and after that, we will call the PhoneGap server.

Push Notification

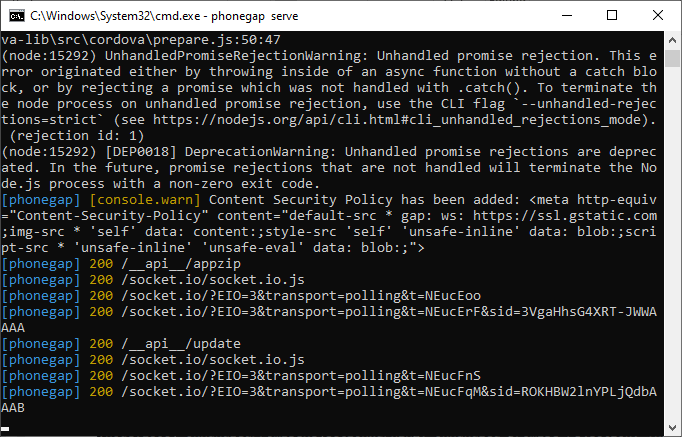
Now, we will use the following command to call the PhoneGap server:

  1. Phonegap serve  


Push Notification

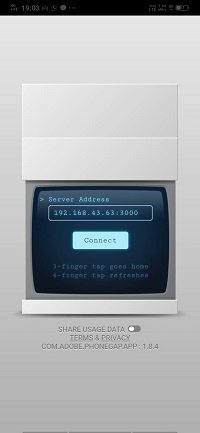
Now, we will either launch our PhoneGap Developer App or go to the browser to run it on 192.168.43.63:3000 server.

Push Notification
Push Notification Push Notification

5) Sending notification

We have created a new PhoneGap project name Push Example with push notification template using the following command:

  1. phonegap create Push --name "Push Example" --template phonegap-template-push  

We will run it on the server, and this time it will also give us the device id.

Push Notification

Now, we will send a push notification to this app. We will open a new command prompt and go to the www folder of our Push project using cd www command. This command will change the directory from Push to www.

Push Notification

Now, we will push a notification using phonegap push -deviceID "your device id" and also add gcm service and payload in the following way:

  1. phonegap push --deviceID dEIbfPByp-A:APA91bH1XjOwUqRAh2bp-8aXml2YW9GnYVit77xSfzkhBEKPIGawAQ4HDMidN1qADufJgXafQWOPxrkYXKvFsgw0c82orAqhqdCjJQkxoXggGM21NvbmswewxeHB9XYNPFH4sQ5qfYB0 -service gcm --payload "{ \"data\": { \"title\": \"JavaTpoint\", \"message\": \"PhoneGap Push Notification\"} }"  

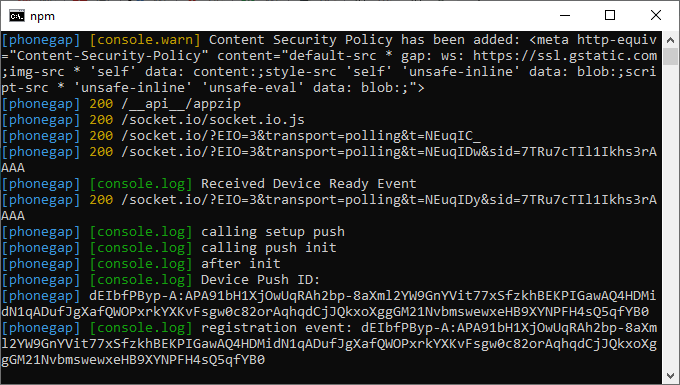
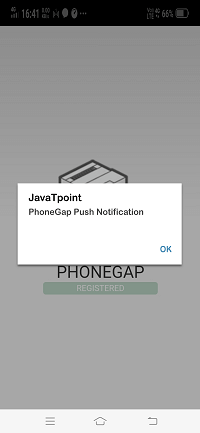
When we run this complete command, we will get a push notification like below:

Index.js

  1. var app = {  
  2.     // Application Constructor  
  3.     initialize: function() {  
  4.         this.bindEvents();  
  5.     },  
  6.     // Bind Event Listeners  
  7.     // Bind any events that are required on startup. Common events are:  
  8.     // 'load', 'deviceready', 'offline', and 'online'.  
  9.     bindEvents: function() {  
  10.         document.addEventListener('deviceready', this.onDeviceReady, false);  
  11.     // deviceready Event Handler  
  12.     //  
  13.     // The scope of 'this' is the event. In order to call the 'receivedEvent'  
  14.     // function, we must explicitly call 'app.receivedEvent(...);'  
  15.     onDeviceReady: function() {  
  16.         console.log('Received Device Ready Event');  
  17.         console.log('calling setup push');  
  18.         app.setupPush();  
  19.     },  
  20.     setupPush: function() {  
  21.         console.log('calling push init');  
  22.         var push = PushNotification.init({  
  23.             "android": {  
  24.                 "senderID": "XXXXXXXX"  
  25.             },  
  26.             "browser": {},  
  27.             "ios": {  
  28.                 "sound": true,  
  29.                 "vibration": true,  
  30.                 "badge": true  
  31.             },  
  32.             "windows": {}  
  33.         });  
  34.         console.log('after init');  
  35.   
  36.         push.on('registration', function(data) {  
  37.             console.log('registration event: ' + data.registrationId);  
  38.   
  39.             var oldRegId = localStorage.getItem('registrationId');  
  40.             if (oldRegId !== data.registrationId) {  
  41.                 // Save new registration ID  
  42.                 localStorage.setItem('registrationId', data.registrationId);  
  43.                 // Post registrationId to your app server as the value has changed  
  44.             }  
  45.   
  46.             var parentElement = document.getElementById('registration');  
  47.             var listeningElement = parentElement.querySelector('.waiting');  
  48.             var receivedElement = parentElement.querySelector('.received');  
  49.   
  50.             listeningElement.setAttribute('style', 'display:none;');  
  51.             receivedElement.setAttribute('style', 'display:block;');  
  52.         });  
  53.   
  54.         push.on('error', function(e) {  
  55.             console.log("push error = " + e.message);  
  56.         });  
  57.   
  58.         push.on('notification', function(data) {  
  59.             console.log('notification event');  
  60.             navigator.notification.alert(  
  61.                 data.message,         // message  
  62.                 null,                 // callback  
  63.                 data.title,           // title  
  64.                 'Ok'                  // buttonName  
  65.             );  
  66.        });  
  67.     }  
  68. };  

Output

Push Notification


No comments:

Post a Comment