n our previous section, we learned about how we can create our first PhoneGap app. This section will tell about the JQuery UI model or how we can include the JQuery UI model in our app. But a question arises here, i.e., why we need to include the JQuery UI model in our app.
If we take a look at our app, it will not look like a mobile device.
It look like they're thrown onto the screen. For this purpose, we will use the JQuery mobile library to make a huge difference in our apps right away. These are the following steps used to include JQuery mobile library on our app.
1) Go to the site
In the first step, we will go to the jquerymobile official website to download the required files.

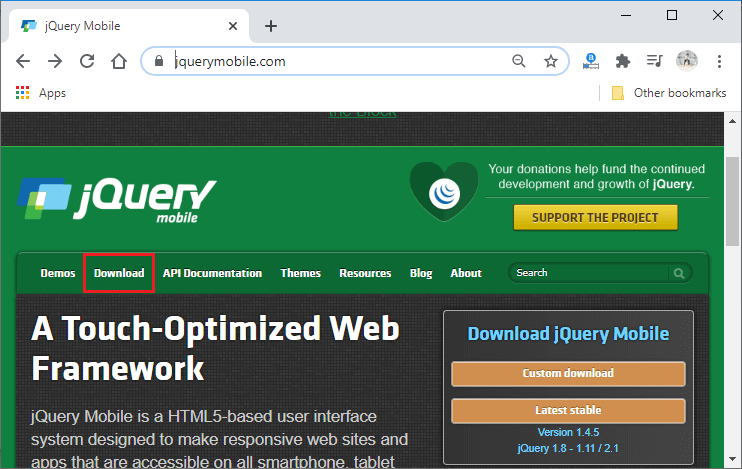
2) Go to the download page.
We will go to the download page by clicking on the Download button and scroll down the page. We will search for the CDN hosted files.
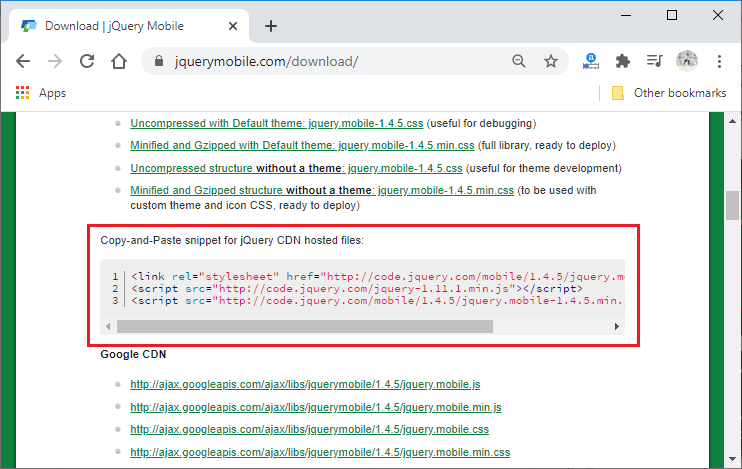
3) Copy and paste the snippet
We will copy these three lines of JavaScript code or snippet and go to our index.html file. We will paste these three lines of code or snippet below the title tag.
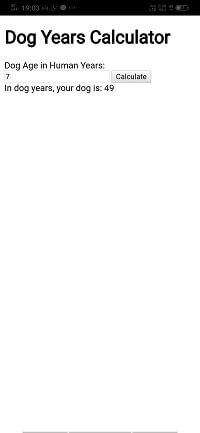
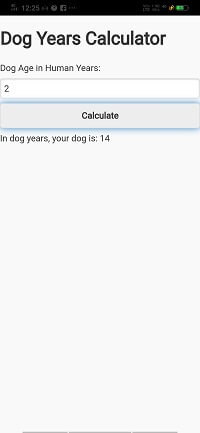
Now, we will save the file and update the mobile screen. After updating the mobile screen, our app will look like a mobile app. These three lines of code automatically reshape the HTML content to make it more mobile phone friendly.
4) Using div tag
Now, we will put all the HTML codes into div with the data-role attribute. We will use three div tags, i.e., first for header, second for main and third one for the footer. We will also add the ui_content class with the main. It adds a bit of styling to some element and creates some margins around content.
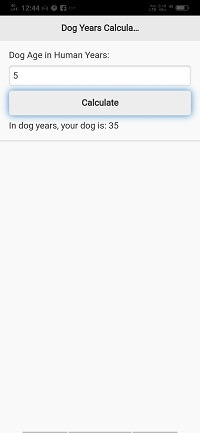
Output:
No comments:
Post a Comment