Saturday 5 December 2020

How to Creating a multipage UI in PhoneGap?

 We will use the HTML CSS, and JavaScript to create the PhoneGap application's user interface. The PhoneGap application's UI layer takes 100% of the device height and 100% of the device width. This is a web browser, and we can think of it as a "chrome-less" web browser.

It shows us the HTML content, without the window or "chrome" decoration of a regular web browser. We build our application to take advantage of this space, and we build navigational/interactive/content elements and application chrome into our HTML and CSS based user interface.

PhoneGap uses the same web view as the native operating system use. This is present as the Objective-C UIWebView class on the iOS and as the android.webkit.WebView on Android.

If we are coming to mobile development from the desktop world, we may find that user interface development for mobile requires a little more consideration, and we had a giant screen and a lot of screen real-estate to play with it. In this section, we will learn about the user interface. We're first going to create a multipage user interface. We're going to work with collapsible content blocks control groups later. The flip switch and the list view from the JQuery mobile UI library. This section will help us make really attractive and usable interfaces for our mobile applications with a phone app.

Note: There is a couple of different libraries which we can use. We will use the JQuery mobile library.

The JQuery mobile library is one of the most effective and oldest libraries. These are the following steps used to create a multipage UI:

1) Create a new project

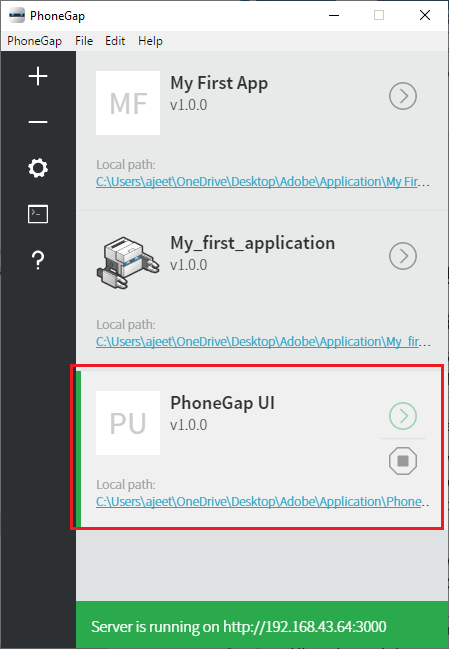
Firstly, we will create a new PhoneGap project with a blank template. If you don't know how to create an app with a blank template, go through the PhoneGap project link.

Creating a multipage UI in PhoneGap

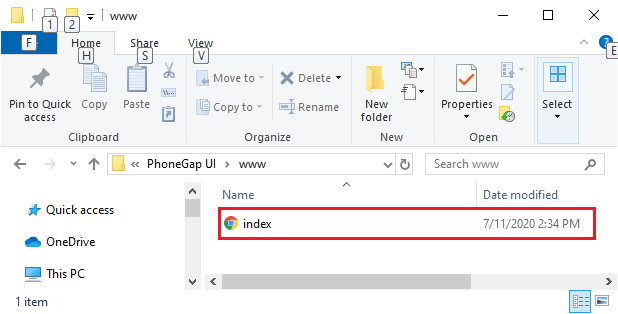
2) Open index.html file

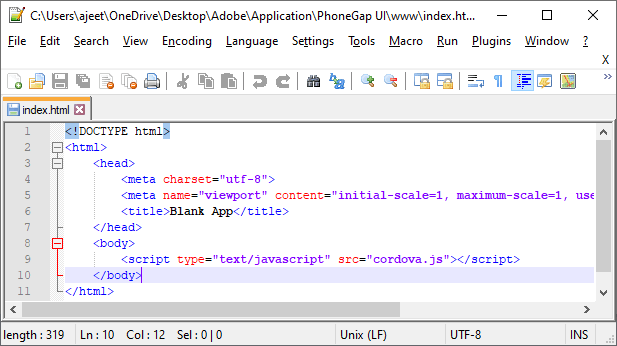
After creating a new project with a blank template, we will go to our application directory on the computer and open the index.html file on our preferred editor.

Creating a multipage UI in PhoneGap

3) Create the div tag

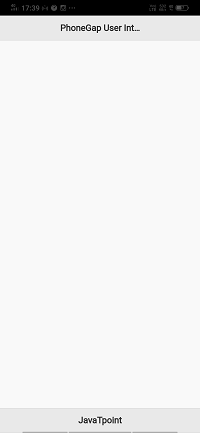
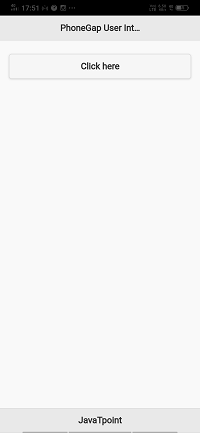
We will divide the complete page into three section, i.e., header, footer and the main page with the ui-content class. We will create a div tag which will contain all these three div tags like as:

  1. <body>  
  2.         <div data-role="page">  
  3.             <div data-role="header">  
  4.             </div> <!-- header -->  
  5.             <div data-role="main" class="ui-content">  
  6.             </div> <!-- main -->  
  7.             <div data-role="footer">  
  8.             </div> <!-- footer -->  
  9.         </div> <!-- page -->  
  10.         <script type="text/javascript" src="cordova.js"></script>  
  11.     </body>  

4) Add heading and JQuery mobile library.

Now, we will add heading tags in header div and also add the JQuery mobile library, as we have added in our previous section.

  1. <!DOCTYPE html>  
  2. <html>  
  3. <head>  
  4. <meta charset="utf-8">  
  5.             <meta name="viewport" content="initial-scale=1, maximum-scale=1, user-scalable=no, width=device-width">  
  6.     <title>Dog Years Calculator</title>  
  7.     <link rel="stylesheet" href="http://code.jquery.com/mobile/1.4.5/jquery.mobile-1.4.5.min.css" />  
  8.     <script src="http://code.jquery.com/jquery-1.11.1.min.js"></script>  
  9.     <script src="http://code.jquery.com/mobile/1.4.5/jquery.mobile-1.4.5.min.js"></script>  
  10. </head>  
  11. <body>  
  12.         <div data-role="page">  
  13.         <div data-role="header">  
  14.             <h1>PhoneGap User Intrface</h1>  
  15.         </div> <!-- header -->  
  16.         <div id="result"></div>  
  17.         </div> <!-- main -->  
  18.         <div data-role="footer">  
  19.         </div> <!-- footer -->  
  20.         </div> <!-- page -->  
  21.         <script type="text/javascript" src="cordova.js"></script>  
  22.     </body>  
  23. </html>  

5) Adding Anchor

Now, what we will do, we will add an anchor to our project.

1. We will give an id to our footer.

  1. <div data-role="footer" id="footer">  
  2. <h2>javatpoint.com</h2>  
  3. </div> <!-- footer -->  


Creating a multipage UI in PhoneGap

2. We will open the style sheet by using <style></style> We will do all the things in the footer. So, we will go to the footer using the id selector. We will set the position to absolute, bottom to 0, and width to 100%.

  1. <style>  
  2.             #footer  
  3.             {  
  4.                 position: absolute;  
  5.                 bottom: 0;  
  6.                 width: 100%;  
  7.             }  
  8. </style>  


Creating a multipage UI in PhoneGap

3) We will give a unique id to this page.

  1. <div data-role="page" id="page1">  

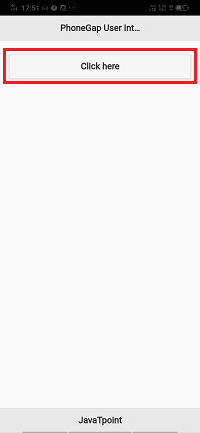
4. We will also add a button to the screen by adding the <button></button> tag in the main div.

  1. <div data-role="main" class="ui-content">  
  2.     <button>Click here</button>  
  3. </div> <!-- main -->  


Creating a multipage UI in PhoneGap

6) Creating a new page

Now, we will repeat the whole structure of the page for a second screen. We will copy the code of page 1 and paste it below this page. We will give it an id page2.
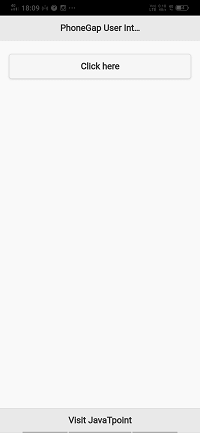
  1. <div data-role="page" id="page2">  
  2. <div data-role="header">  
  3.          <h1>PhoneGap User Interface 2</h1>  
  4.             </div> <!-- header -->  
  5.               
  6.             <div data-role="main" class="ui-content">  
  7.          <button>Click here</button>  
  8.                 </div> <!-- main -->  
  9.               
  10. <div data-role="footer" id="footer">  
  11.          <h2>Visit JavaTpoint</h2>  
  12.             </div> <!-- footer -->  
  13. </div> <!-- page -->  


Creating a multipage UI in PhoneGap

7) Connects pages

Now, we will connect pages through hyper-reference so that we can move from one page to another. For this, we will go to the buttons and use onclick for switching pages.

  1. <div data-role="main" class="ui-content">  
  2.     <button onclick="location.href='index.html#page2'">Click here</button>  
  3.  </div> <!-- main -->  
  4.   
  5.  <div data-role="main" class="ui-content">  
  6.             <button onclick="location.href='index.html#page1'">Click here</button>  
  7.  </div> <!-- main -->  


Creating a multipage UI in PhoneGap Creating a multipage UI in PhoneGap


No comments:

Post a Comment